How to Shoot Stunning Light Trails: A Beginner’s Guide
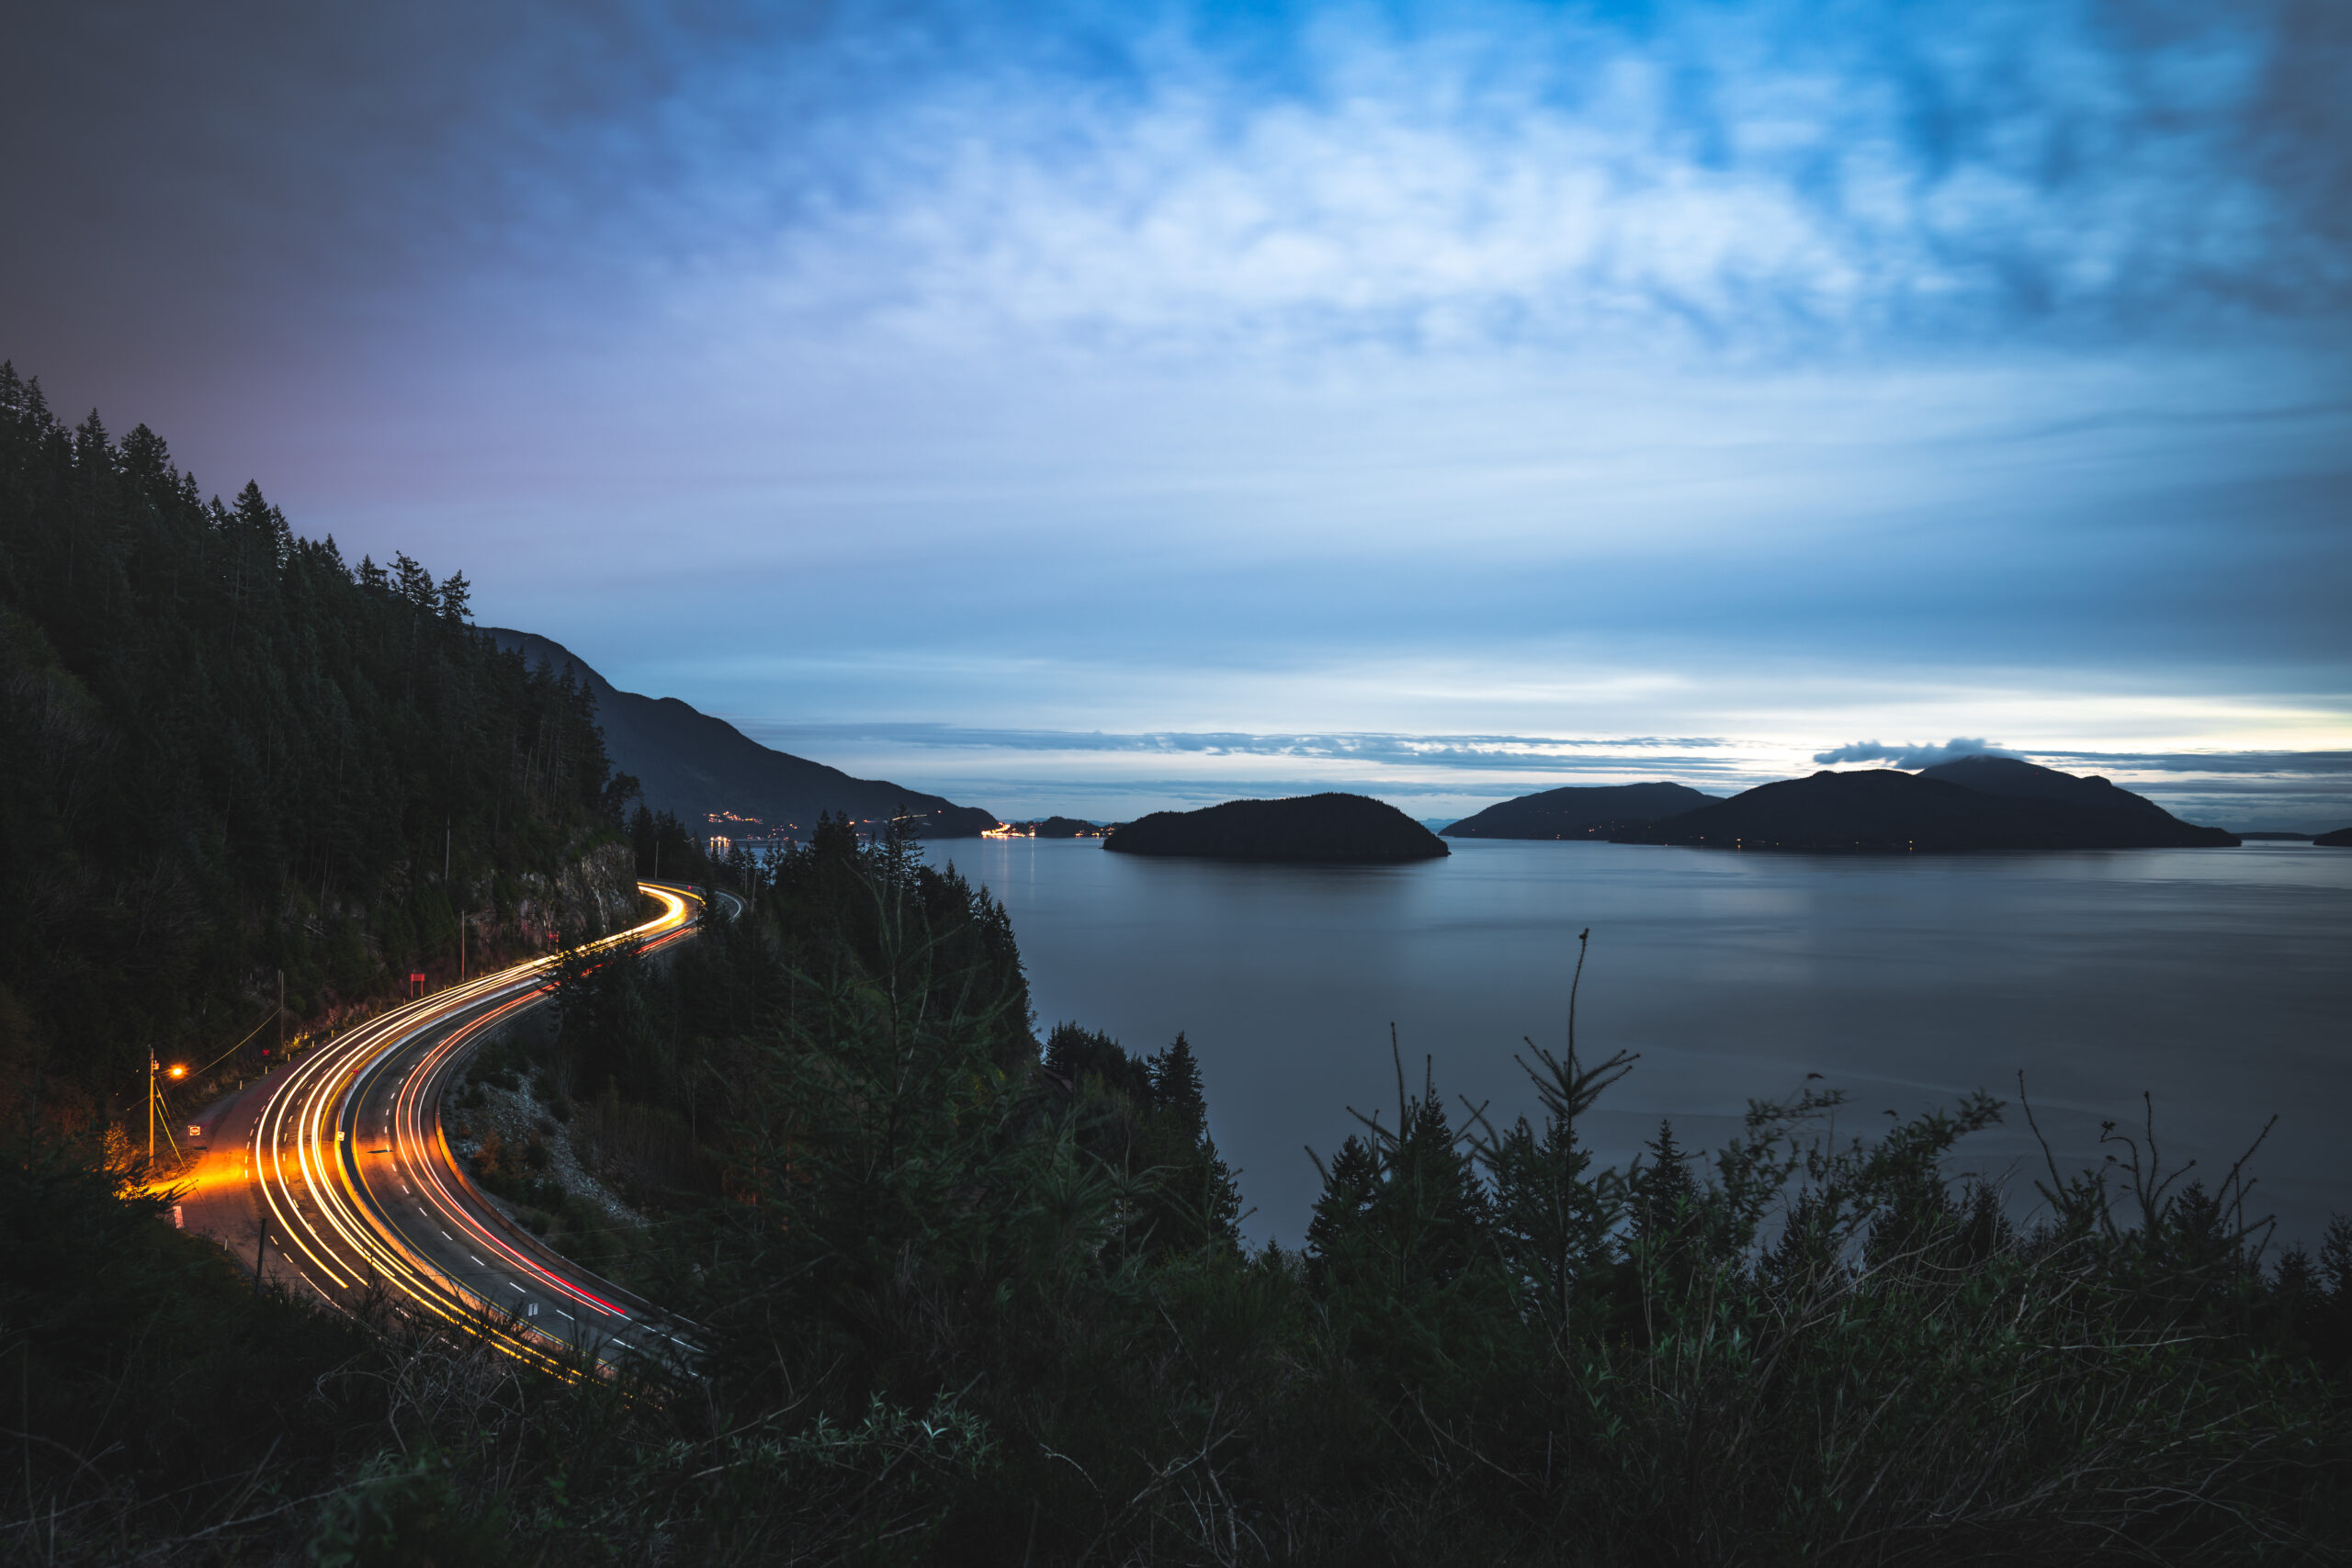
Light trails can add a dynamic and artistic element to your photography, transforming ordinary scenes into something magical. Capturing the streaks of light from passing cars, trains, or other moving light sources requires some planning and the right camera settings. Here’s a step-by-step guide to help you shoot stunning light trails.
Choose the Right Location
The first step to capturing light trails is finding the perfect location. Urban areas with busy streets, highways, or bridges are ideal for shooting car light trails. Look for vantage points that offer a clear view of the traffic or moving lights, such as an overpass, a hill, or a rooftop. Consider locations where the light trails will create interesting patterns or curves, like winding roads or intersections.
Tip: Scout the location during the day to find the best angle and ensure it’s safe to set up your gear.
Wait for the Right Time
Timing is crucial for light trail photography. The best time to shoot is during the blue hour, just after sunset or before sunrise, when there’s still some ambient light in the sky. This helps to balance the exposure between the bright light trails and the darker surroundings. However, you can also shoot light trails at night for a more dramatic effect.
Tip: If you’re shooting during the blue hour, be ready to adjust your settings as the light changes rapidly.
Set Up Your Gear
To capture light trails, you’ll need a tripod to keep your camera steady during long exposures. Even slight movements can result in blurry images. Use a remote shutter release or your camera’s self-timer to avoid camera shake when pressing the shutter.
Tip: A wide-angle lens is often best for capturing expansive scenes with multiple light trails, but a telephoto lens can be used to isolate specific parts of the scene.
Choose the Right Camera Settings
Shooting light trails requires long exposure times to capture the movement of the lights. Here’s how to set up your camera:
- Mode: Set your camera to Manual (M) mode for full control over the settings.
- ISO: Start with a low ISO (100-200) to minimize noise in your image.
- Aperture: Use a mid-range aperture, such as f/8 to f/11, to ensure a deep depth of field and keep the scene in focus.
- Shutter Speed: This is the key setting for light trails. Start with a shutter speed of 10 to 30 seconds. The longer the exposure, the longer and more continuous the light trails will be.
Tip: If your light trails are too faint, you can increase the shutter speed or slightly raise the ISO. Conversely, if they are too bright, lower the ISO or reduce the exposure time.
Focus Manually
Autofocus can struggle in low light, so it’s best to switch to manual focus. Focus on a point where the light trails will pass through, such as a nearby streetlight or a well-lit building. You can also use your camera’s live view mode and zoom in to fine-tune the focus.
Tip: If you’re shooting in total darkness, pre-focus your lens during the day or on a distant light source, then switch to manual focus to lock it in.
Compose Your Shot
Composition plays a big role in light trail photography. Use the rule of thirds to position the horizon or key elements off-center. Incorporate interesting foreground and background elements to add depth to your image. Leading lines, like roads or bridges, can guide the viewer’s eye through the photo.
Tip: Experiment with different angles and perspectives to see how the light trails interact with the environment.
Take Multiple Shots
Light trail photography often involves some trial and error. Take multiple shots with different exposure times to see what works best for your scene. Pay attention to how the light trails look—are they too short, too long, or just right? Adjust your settings accordingly.
Tip: Consider shooting in Bulb mode for even longer exposures, which allows you to control the exposure time manually by holding down the shutter button.
Post-Processing
Editing your light trail photos can help bring out the best in them. Use software like Adobe Lightroom or Photoshop to adjust the exposure, contrast, and color balance. You can also enhance the light trails by boosting the whites and highlights, and reduce noise that might have appeared during the long exposure.
Tip: If you took multiple shots, you can blend them in post-processing to create more complex light trails or to reduce noise.
Final Thoughts
Shooting light trails is a fantastic way to experiment with long exposure photography and create visually striking images. With the right settings, a bit of patience, and some creativity, you can capture mesmerizing light trails that add a dynamic element to your night photography. So grab your tripod, head out to a busy street, and start shooting those stunning light trails!