The DJI Mini 3 Pro is a powerful and compact drone that offers incredible aerial photography capabilities. Whether you're a beginner or an experienced pilot, mastering a few key techniques can take your drone photos to the next level. Here's how to make the most of it.
Quick Settings Reference
- Always shoot in RAW format for maximum editing flexibility
- Set to 48 MP on the Mini 3 or Mini 4 Pro for better detail
- Keep ISO low (100–400) to minimise noise
- Set white balance manually to avoid colour casts
- Use ND8 or ND16 filters on sunny days
Understand Your Camera Settings
Familiarise yourself with Photo Mode (Single Shot for most situations, AEB for high-contrast scenes, Burst for fast-moving subjects). Adjust shutter speed based on lighting — faster in bright conditions for crisp shots. Shoot RAW whenever possible to retain more detail for post-processing.
Master the Rule of Thirds
Turn on the grid overlay and place key elements — horizon, buildings, trees — along the lines or at their intersections. Experiment with different angles and altitudes. Sometimes a slight shift in perspective makes a massive difference.
Use ND Filters
Neutral Density filters reduce the amount of light entering the camera, letting you use slower shutter speeds for smoother, more cinematic results. Use ND8 or ND16 on sunny days to prevent overexposure and maintain detail in bright areas.
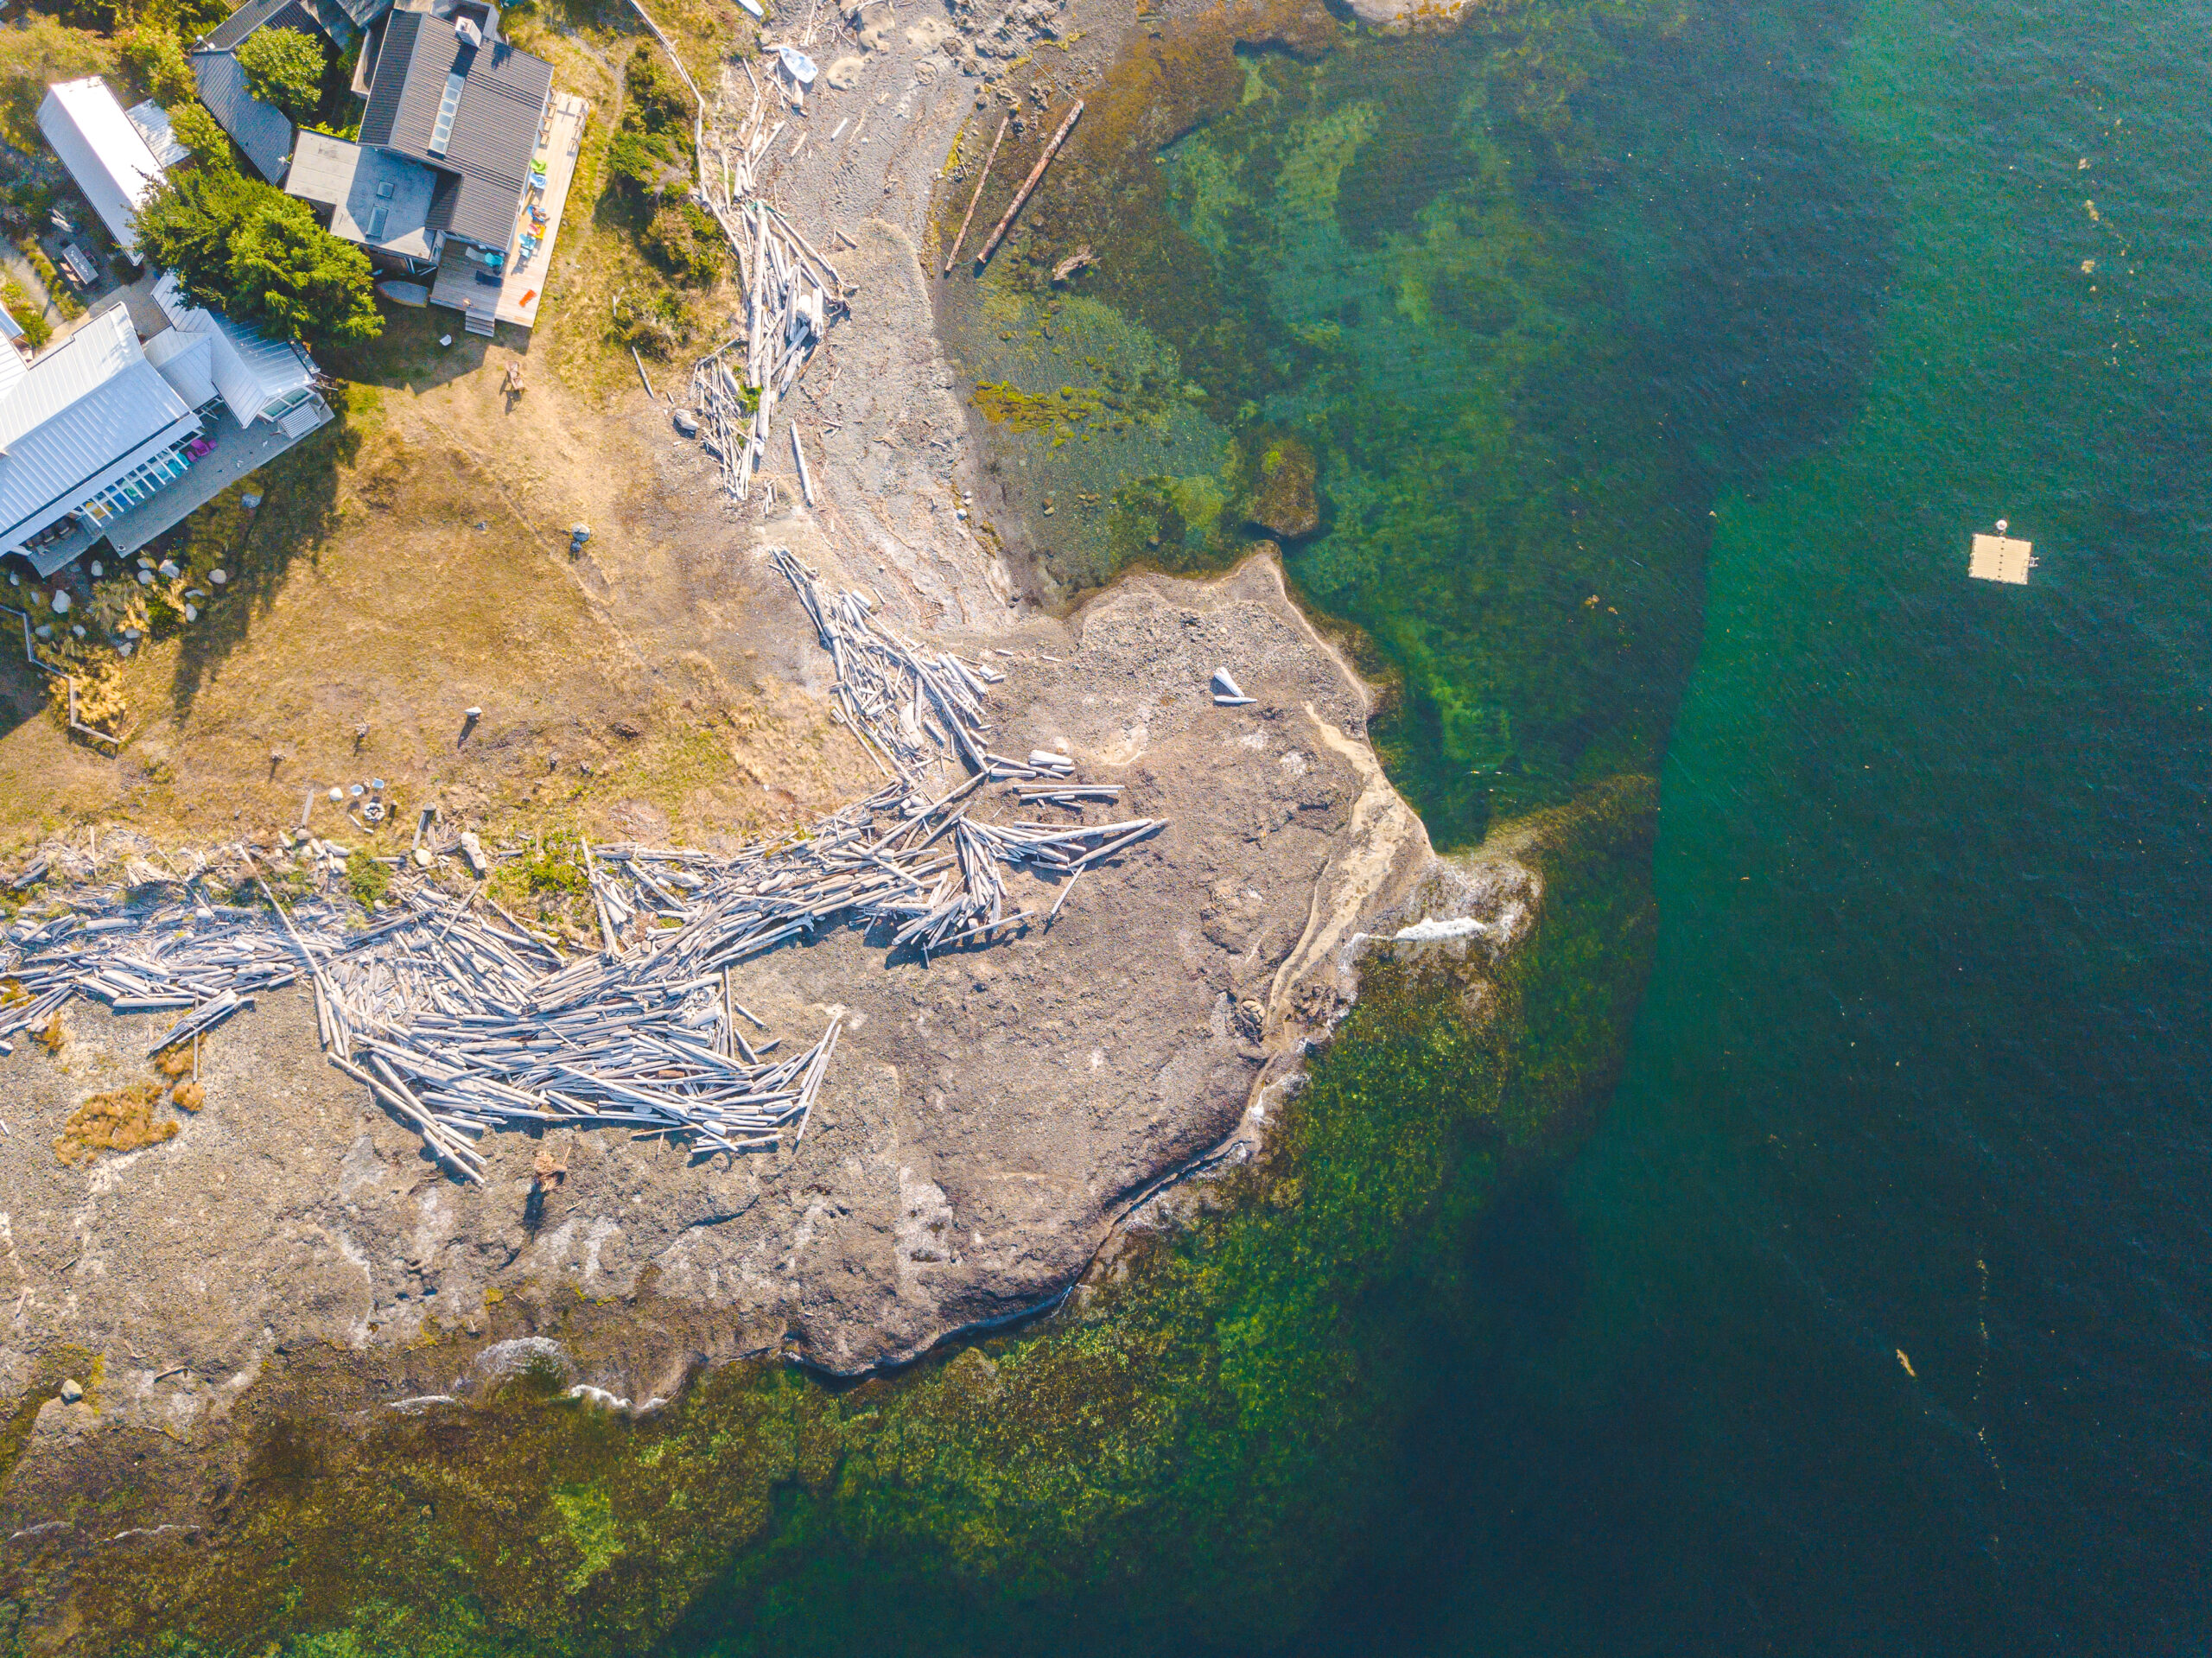
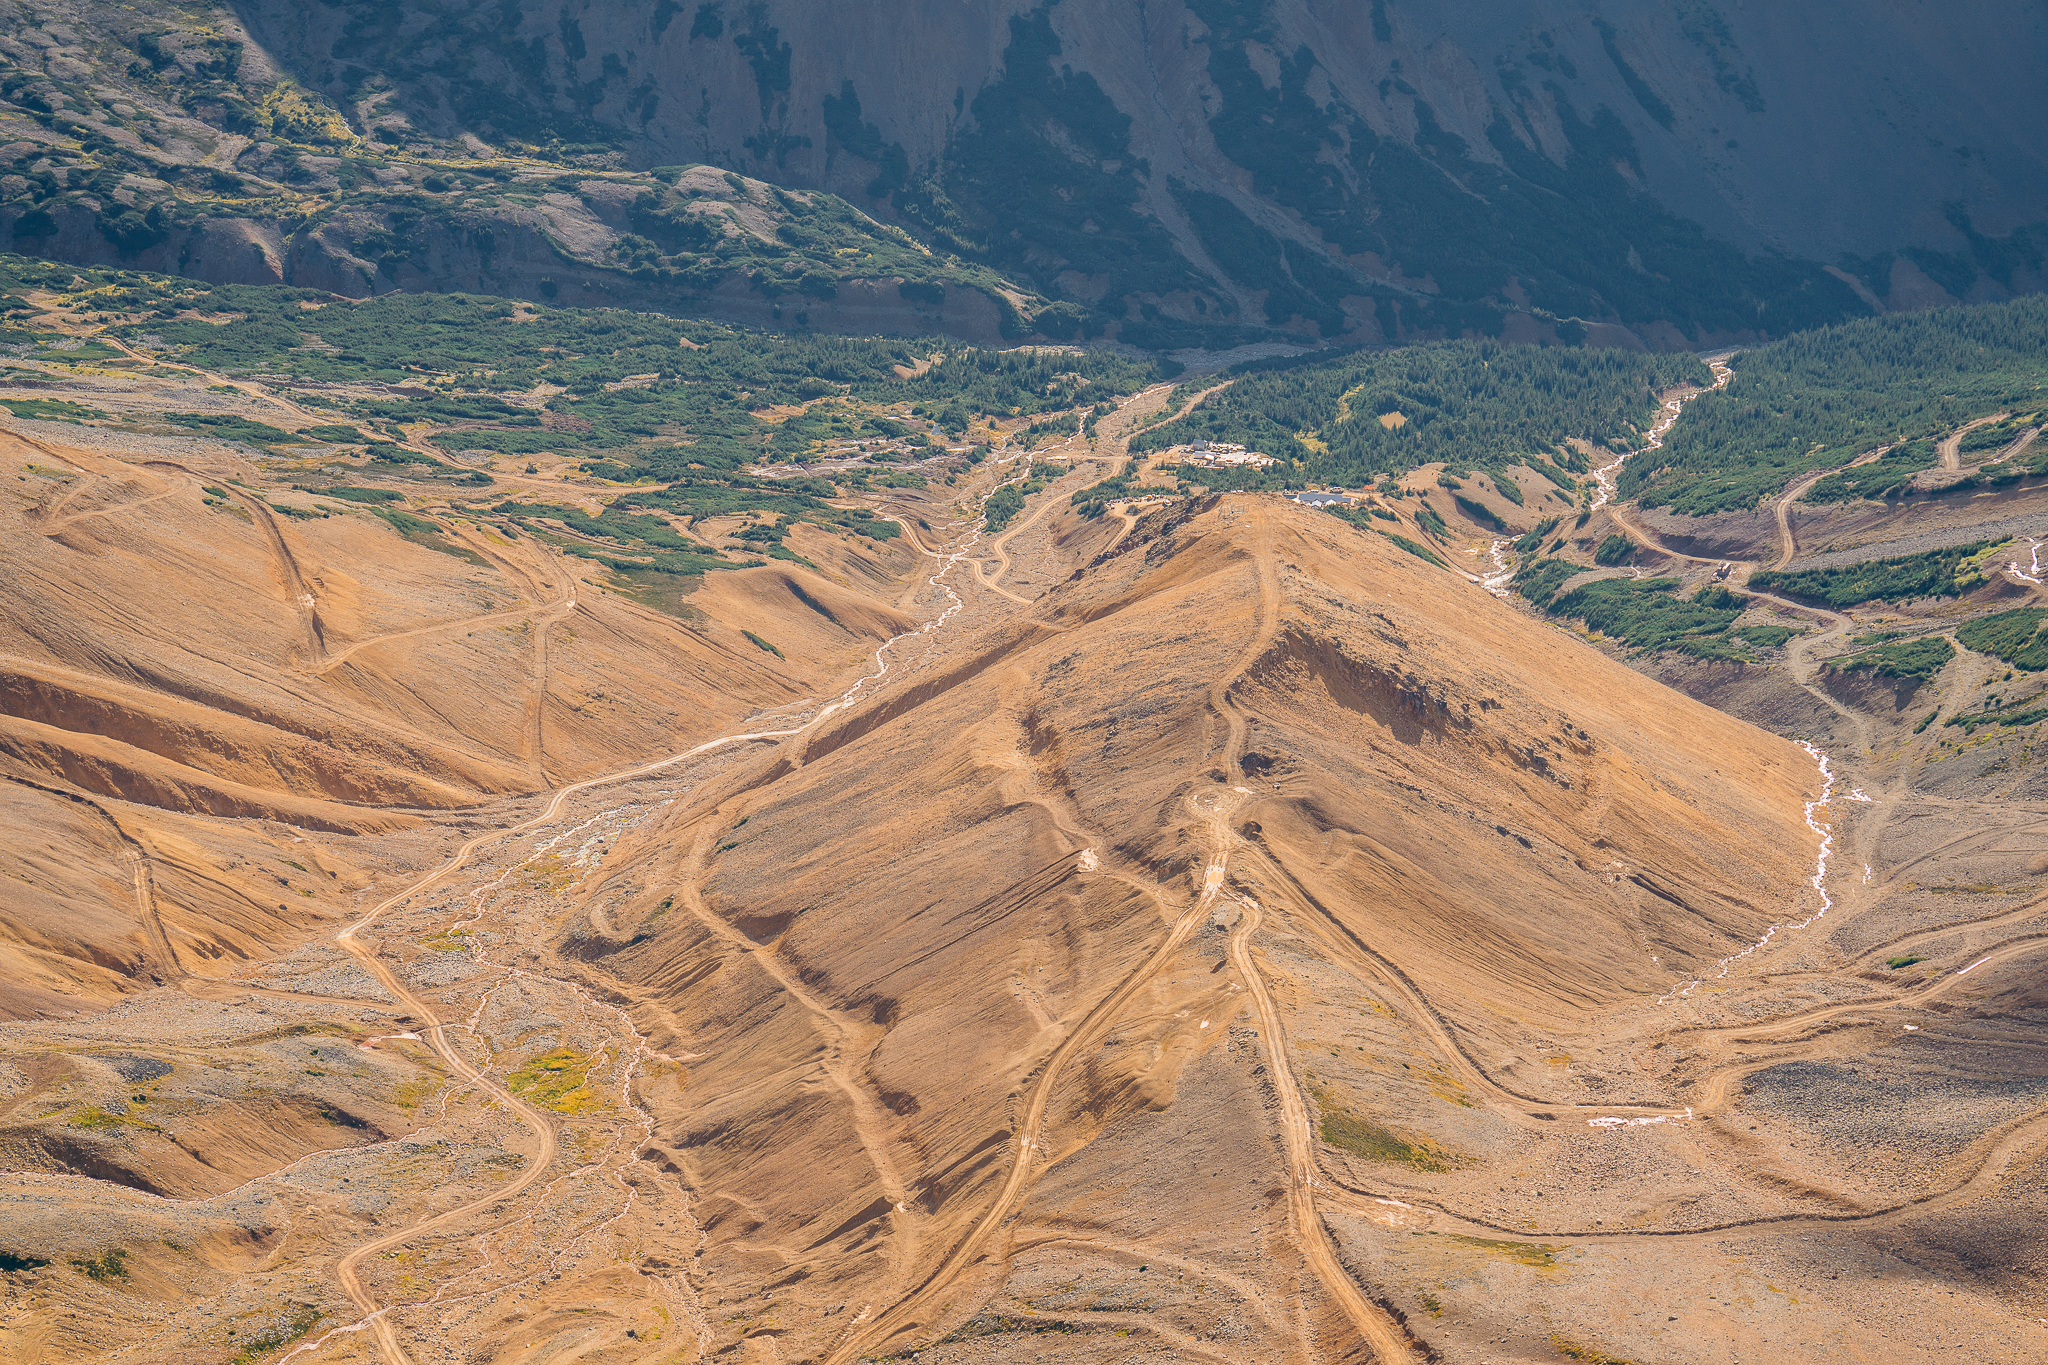
Top-down perspective — one of the most powerful compositions unique to drone photography.
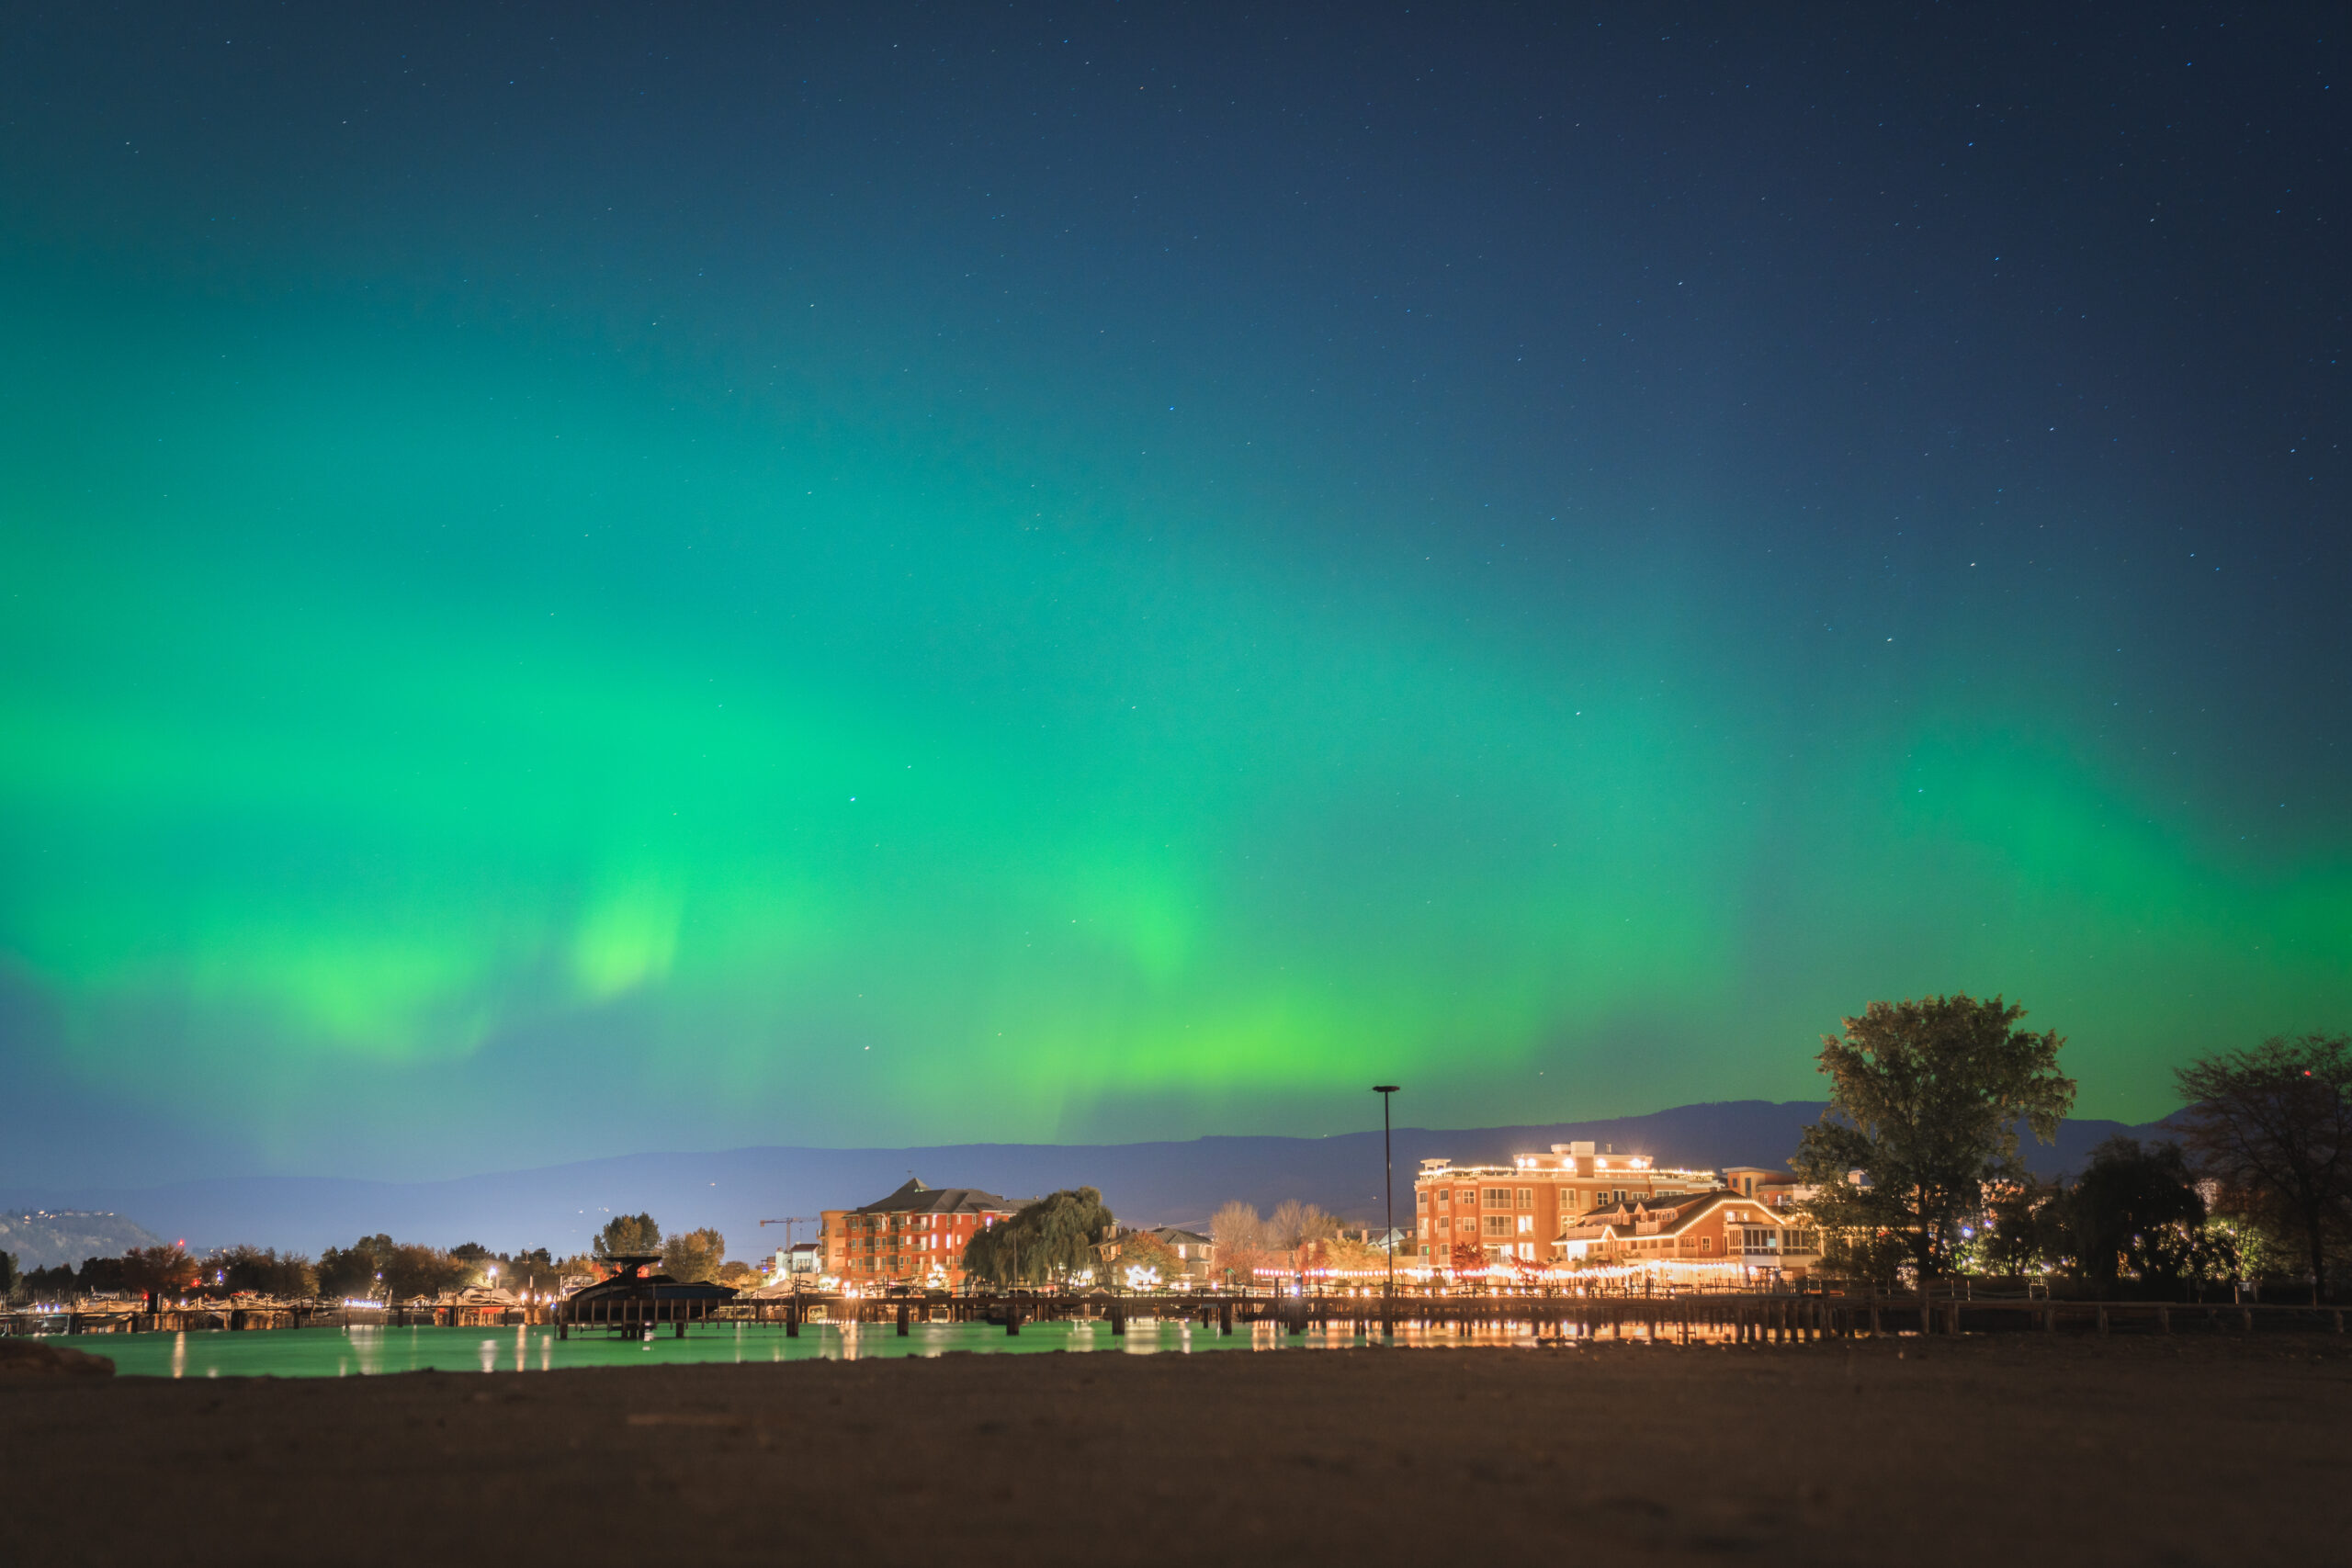
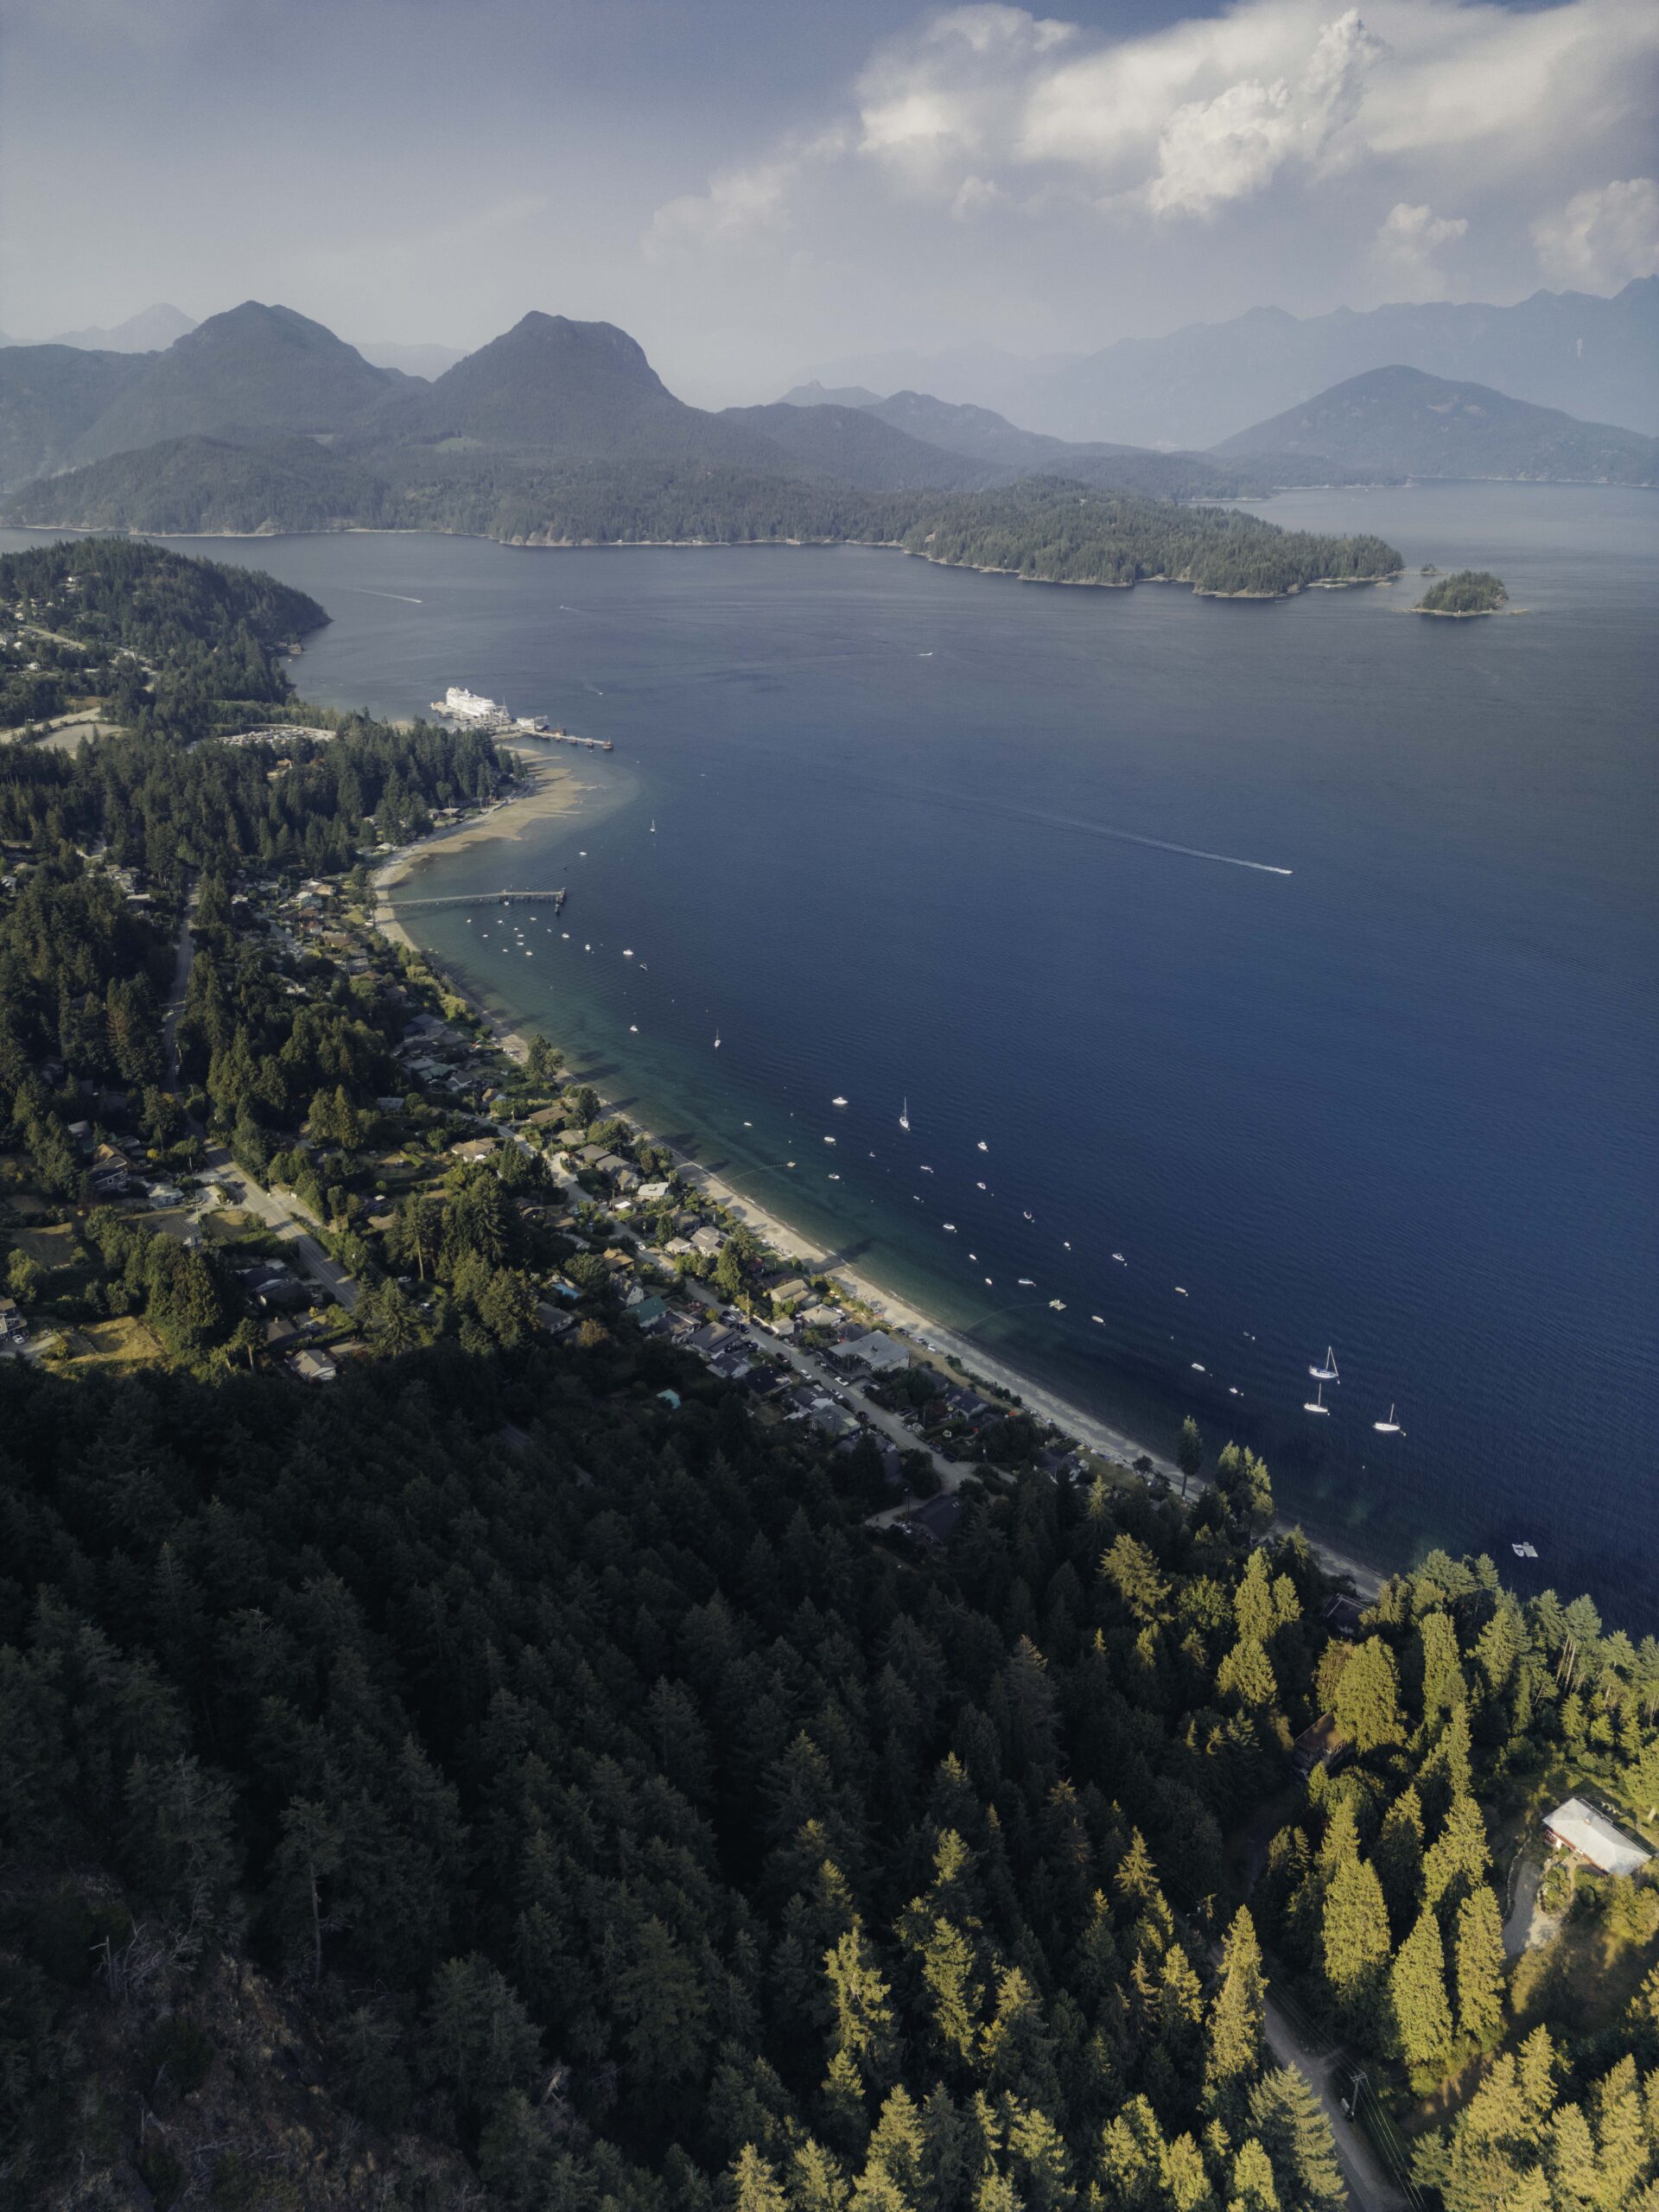
Capture the Golden Hour
The time just after sunrise and before sunset offers soft, warm light that's perfect for aerial photography. Shadows are longer, light is more diffused, and your photos get a warm, inviting glow. Use apps like Sun Surveyor or The Photographer's Ephemeris to plan your flights.
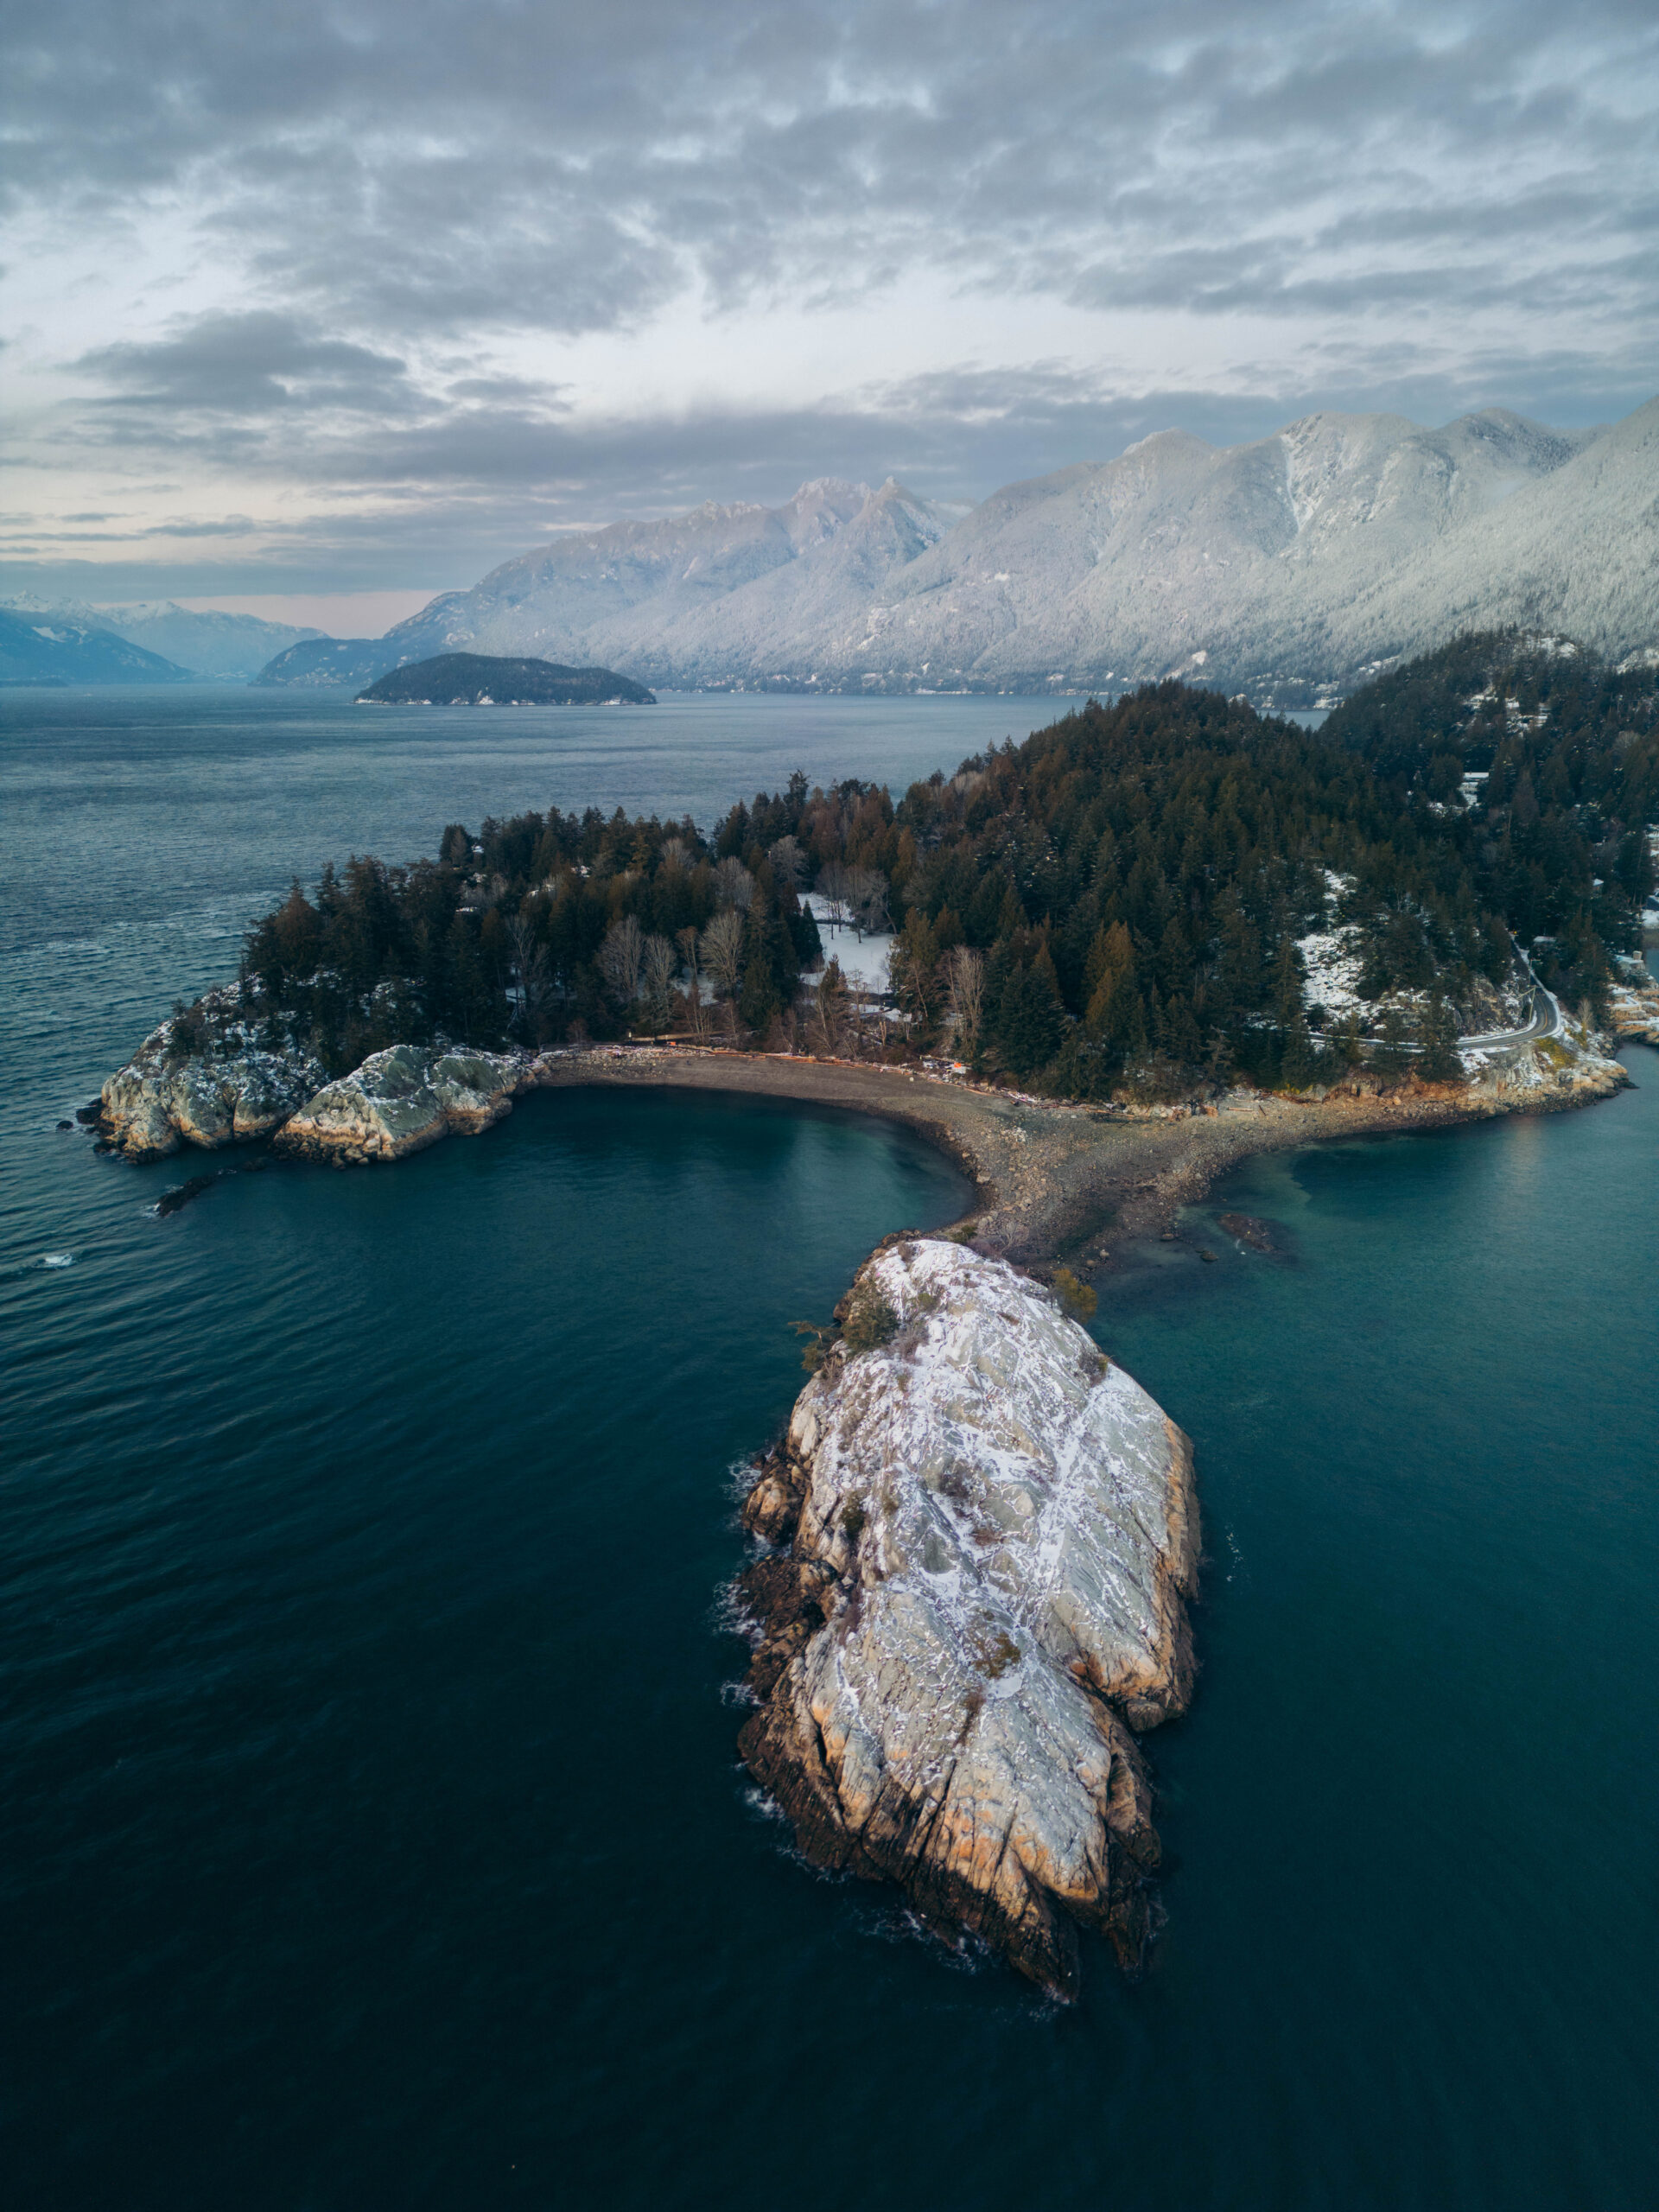
Experiment with Perspectives
Don't just shoot from high altitude. Fly low for detailed landscape or architecture shots. Try the top-down bird's eye view for abstract, geometric compositions that are impossible with a regular camera. Play with angles to create more dynamic images.
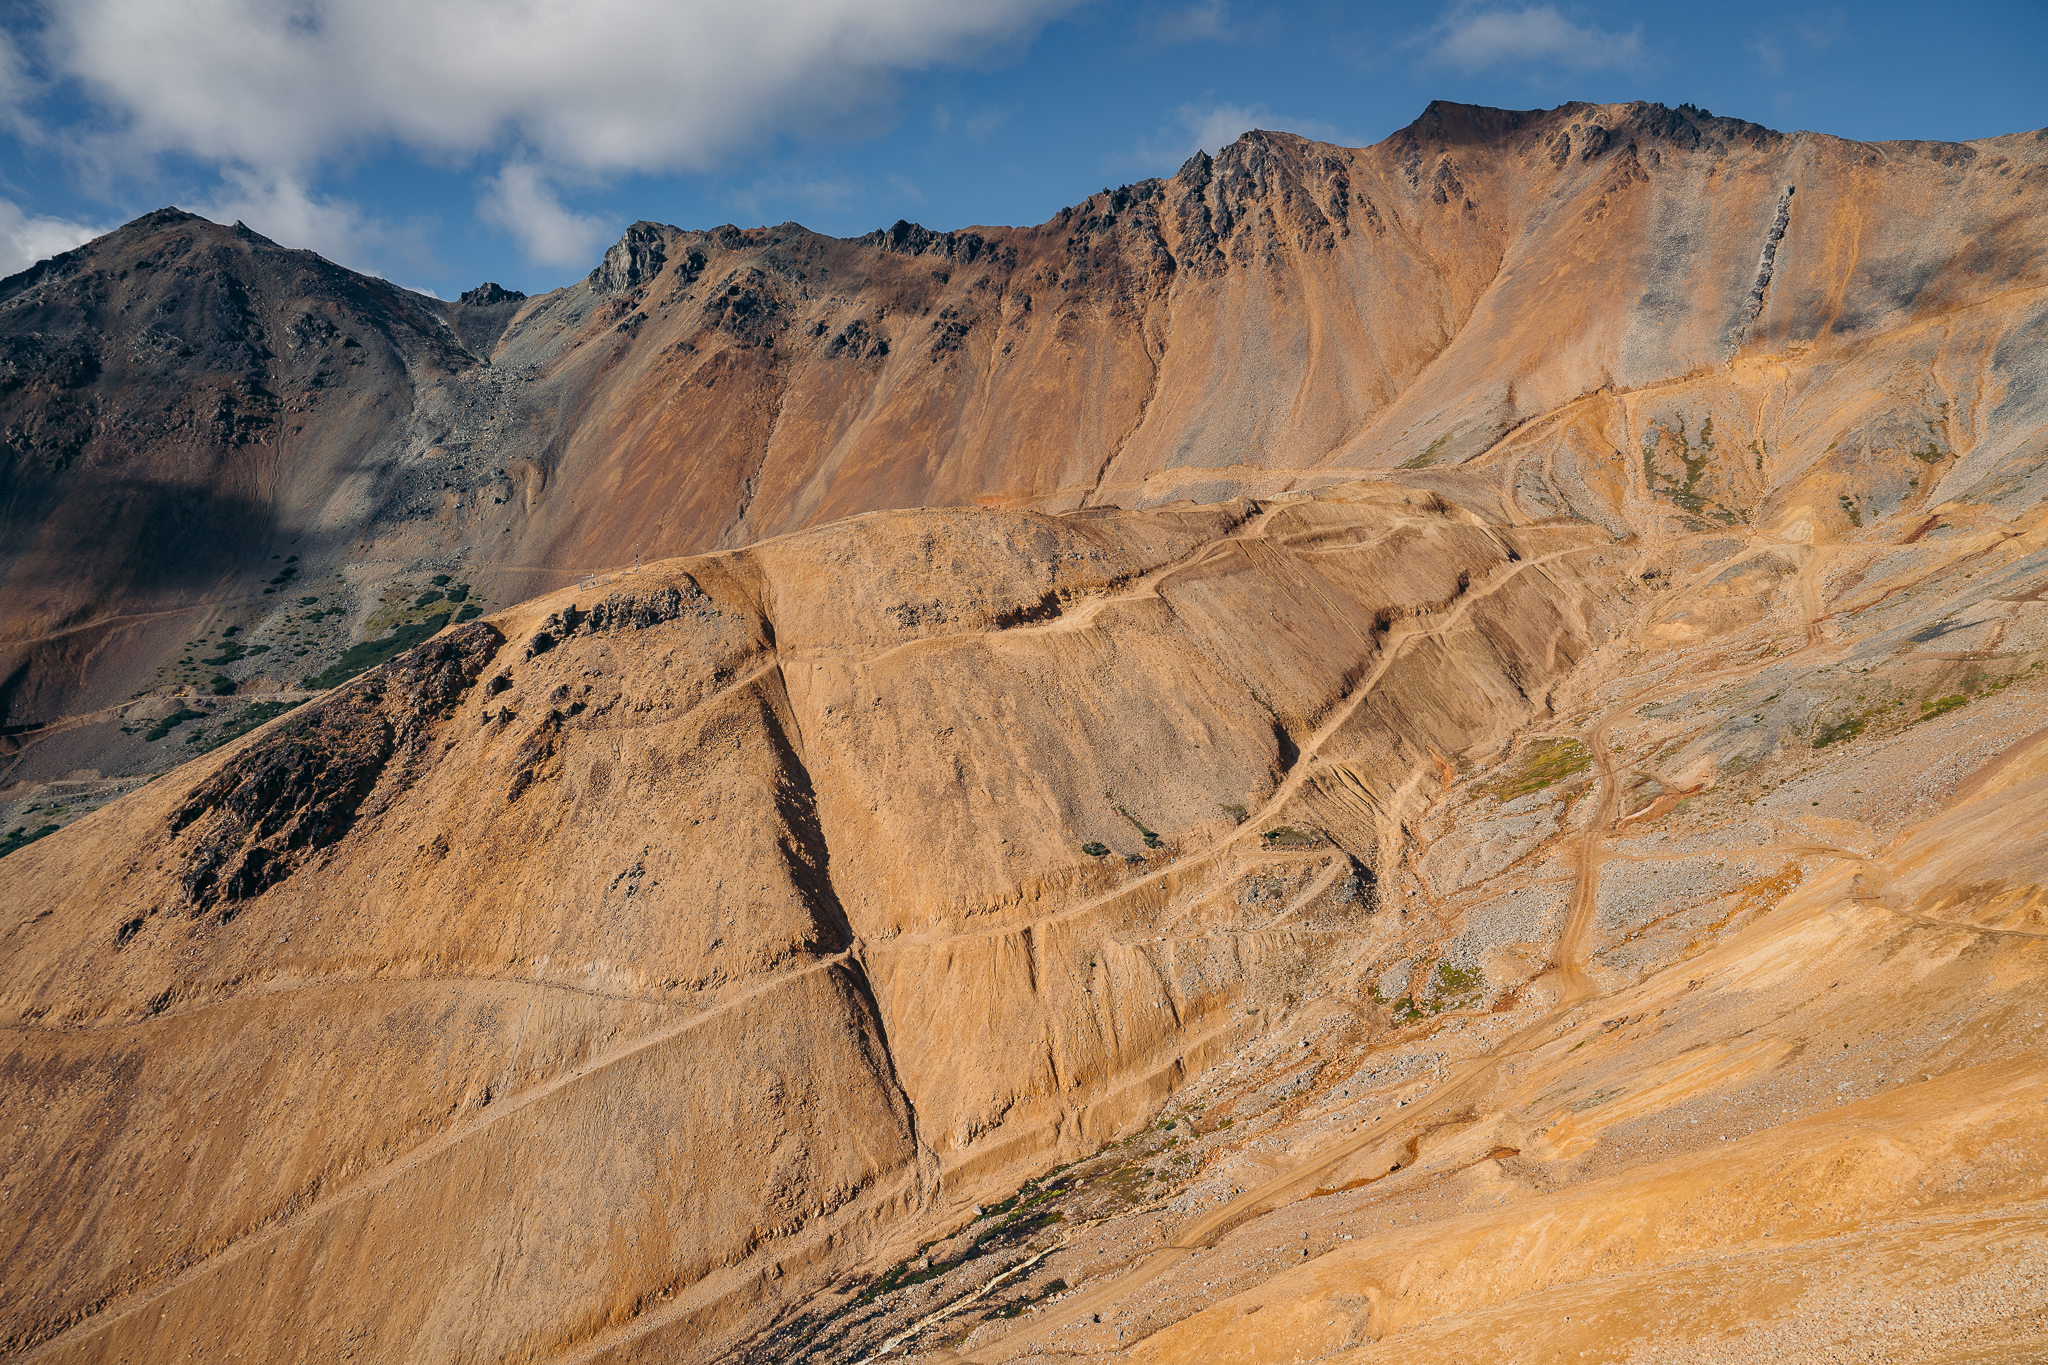
Focus on Leading Lines
Look for natural or man-made lines in the landscape — roads, rivers, shorelines, rows of trees — that guide the viewer's eye through the image. Align your drone with these lines to create a sense of depth and direction.
Utilise the Smart Features
QuickShots (Dronie, Circle, Helix, Rocket) capture cinematic shots automatically. MasterShots lets you select a subject and the drone captures a full sequence. FocusTrack keeps your subject in frame while flying. Practice these in different scenarios to find what suits your style.
Check Weather & Battery
Always check the weather before flying. The Mini 3 Pro is lightweight and sensitive to strong winds. Fly on calm, clear days for the best results. Keep an eye on battery life, plan your shots ahead of time, and bring extras so you can swap and keep shooting.
Post-Processing
Use Adobe Lightroom or Photoshop to adjust exposure, contrast, and colour balance. Since you're shooting RAW, you'll have flexibility to recover highlights and shadows. Don't over-process — aim for a natural look that enhances the scene without making it look artificial.
The DJI Mini 3 Pro is a fantastic tool for aerial photography, but like any camera it requires practice and knowledge. Master the settings, experiment with composition, and let your creativity soar.
Wrapping Up
Drone photography opens up perspectives that are simply impossible from the ground. The Mini 3 Pro packs serious capability into a compact package — the key is knowing how to use it.
Want to see what's possible from above? Check out my Aerial portfolio. And if you're looking for aerial photography for a project, get in touch.