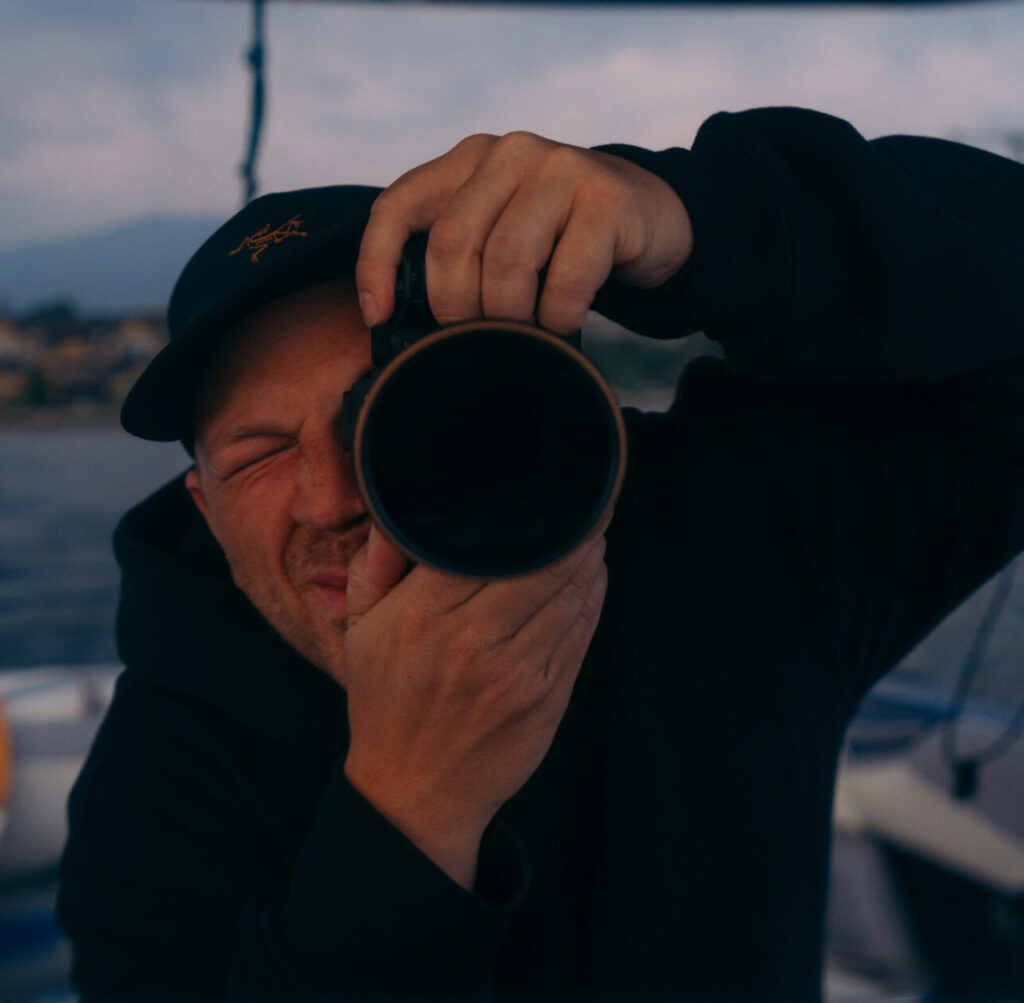
Sunrises and sunsets are among the most breathtaking moments to capture. The soft golden light and vibrant colours can transform a simple landscape into a stunning masterpiece. But capturing these moments requires more than pointing your camera at the horizon. Here's how to make the most of it.
Golden Hour vs. Blue Hour
- Golden Hour — Just after sunrise or before sunset. Soft, warm, diffused light with long shadows
- Blue Hour — Shortly after sunset or before sunrise. Cool, tranquil, moody light
- Don't pack up when the sun dips — some of the best colour happens after it's gone
- Apps: Sun Surveyor, The Photographer's Ephemeris for timing
Plan Ahead
Use apps like Sun Surveyor or The Photographer's Ephemeris to know exact sunrise/sunset times and positions. Arrive early to scout the location and set up. Keep an eye on the weather — partly cloudy skies create the most dramatic colour.
Use the Right Gear
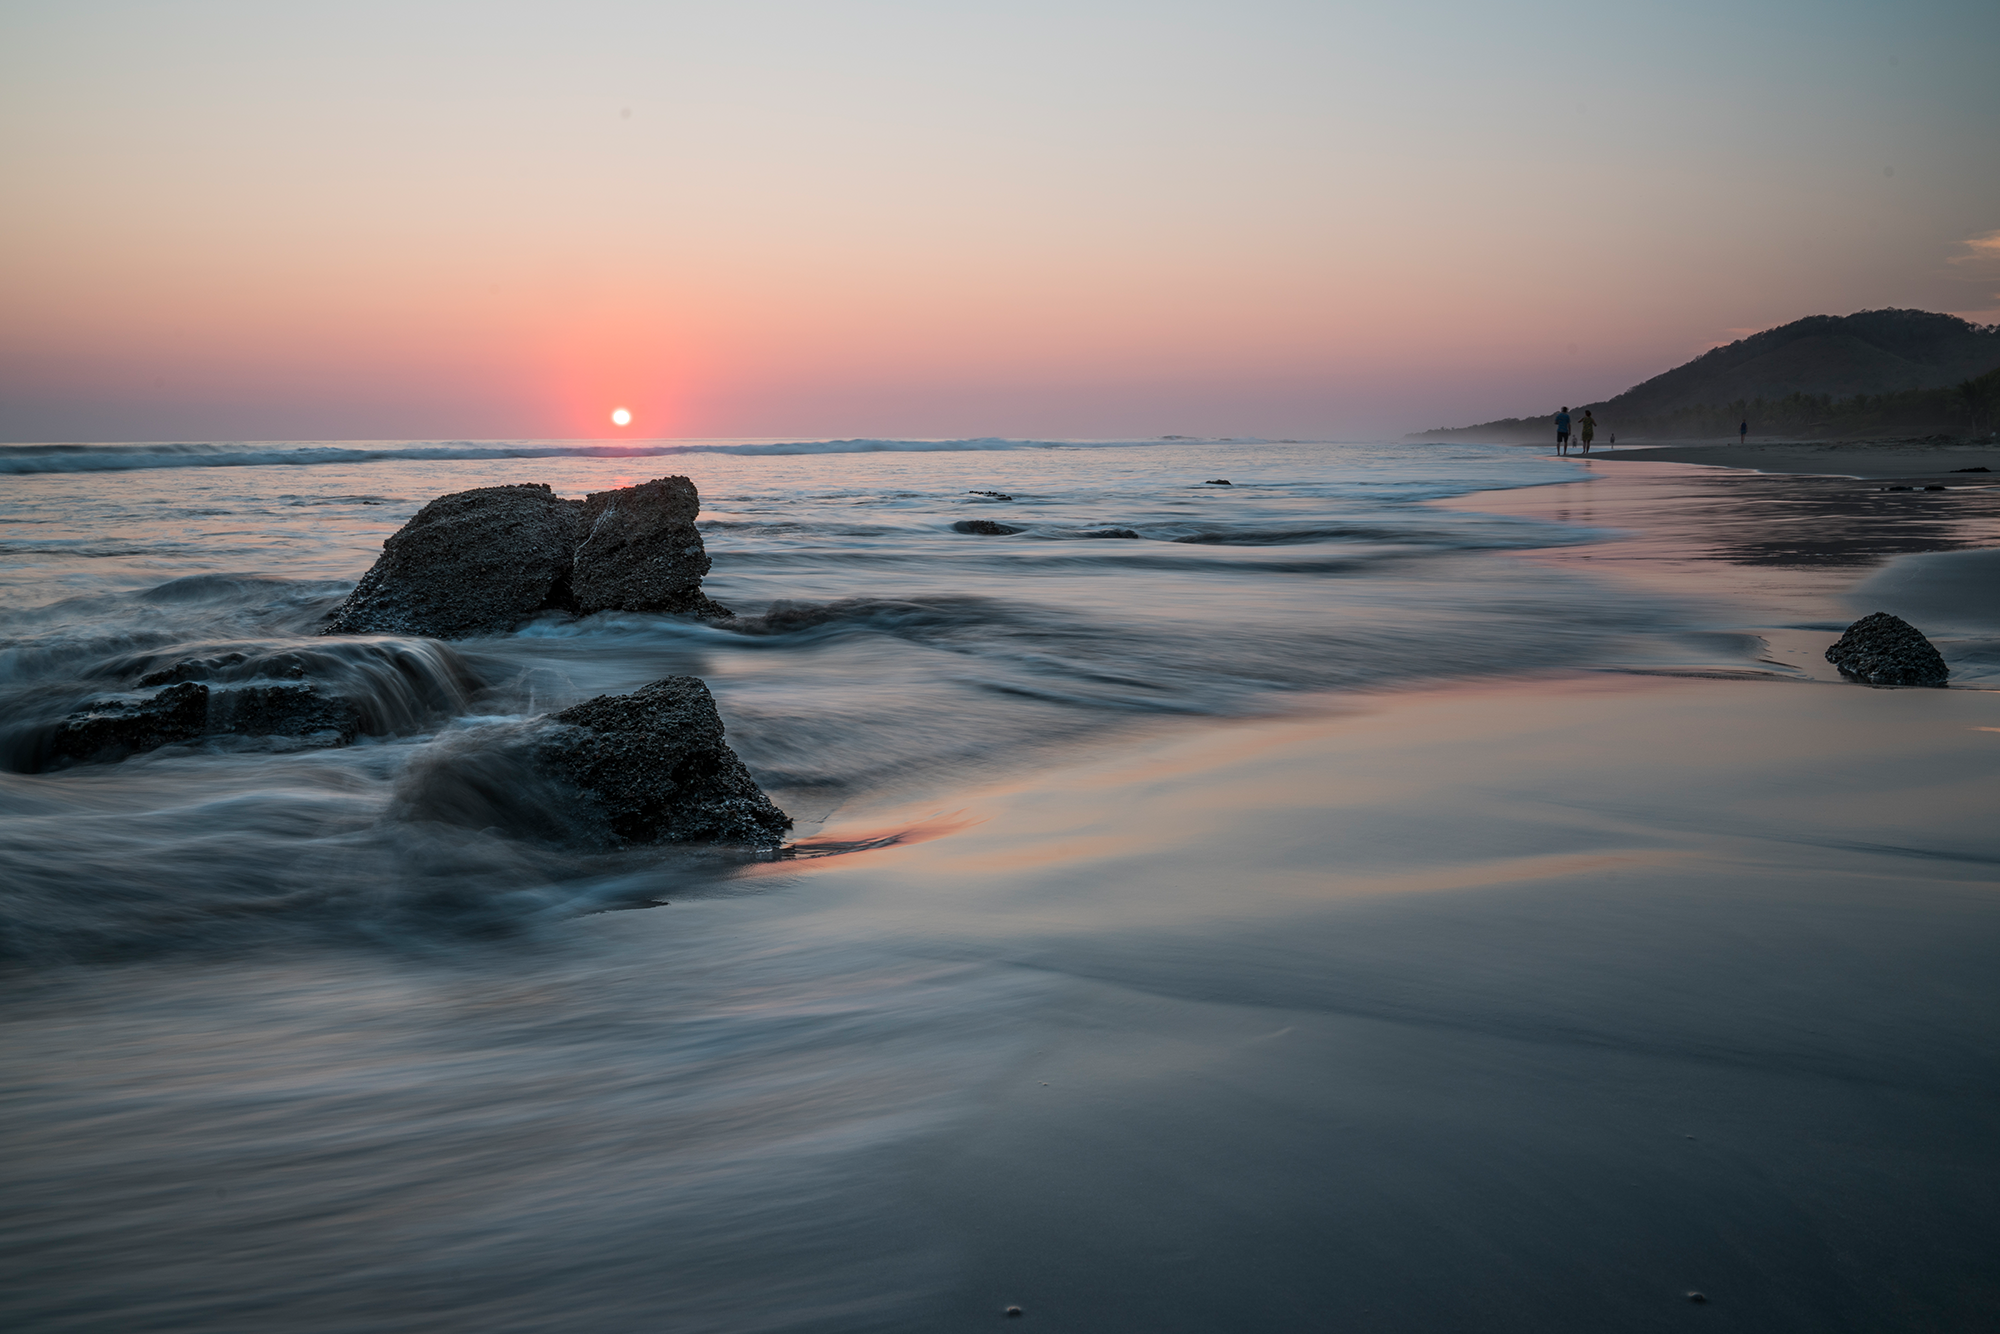
A wide-angle lens captures the expansive sky and landscape. A telephoto isolates the sun or distant elements. Bring a sturdy tripod for long exposures, and ND filters to control light for smooth, dreamy effects in water or sky.
Perfect Your Exposure
High contrast between bright sky and dark foreground is the main challenge. Use exposure compensation to balance, shoot in manual mode for full control, and always shoot RAW to retain detail in highlights and shadows for post-processing flexibility.
Focus on Composition
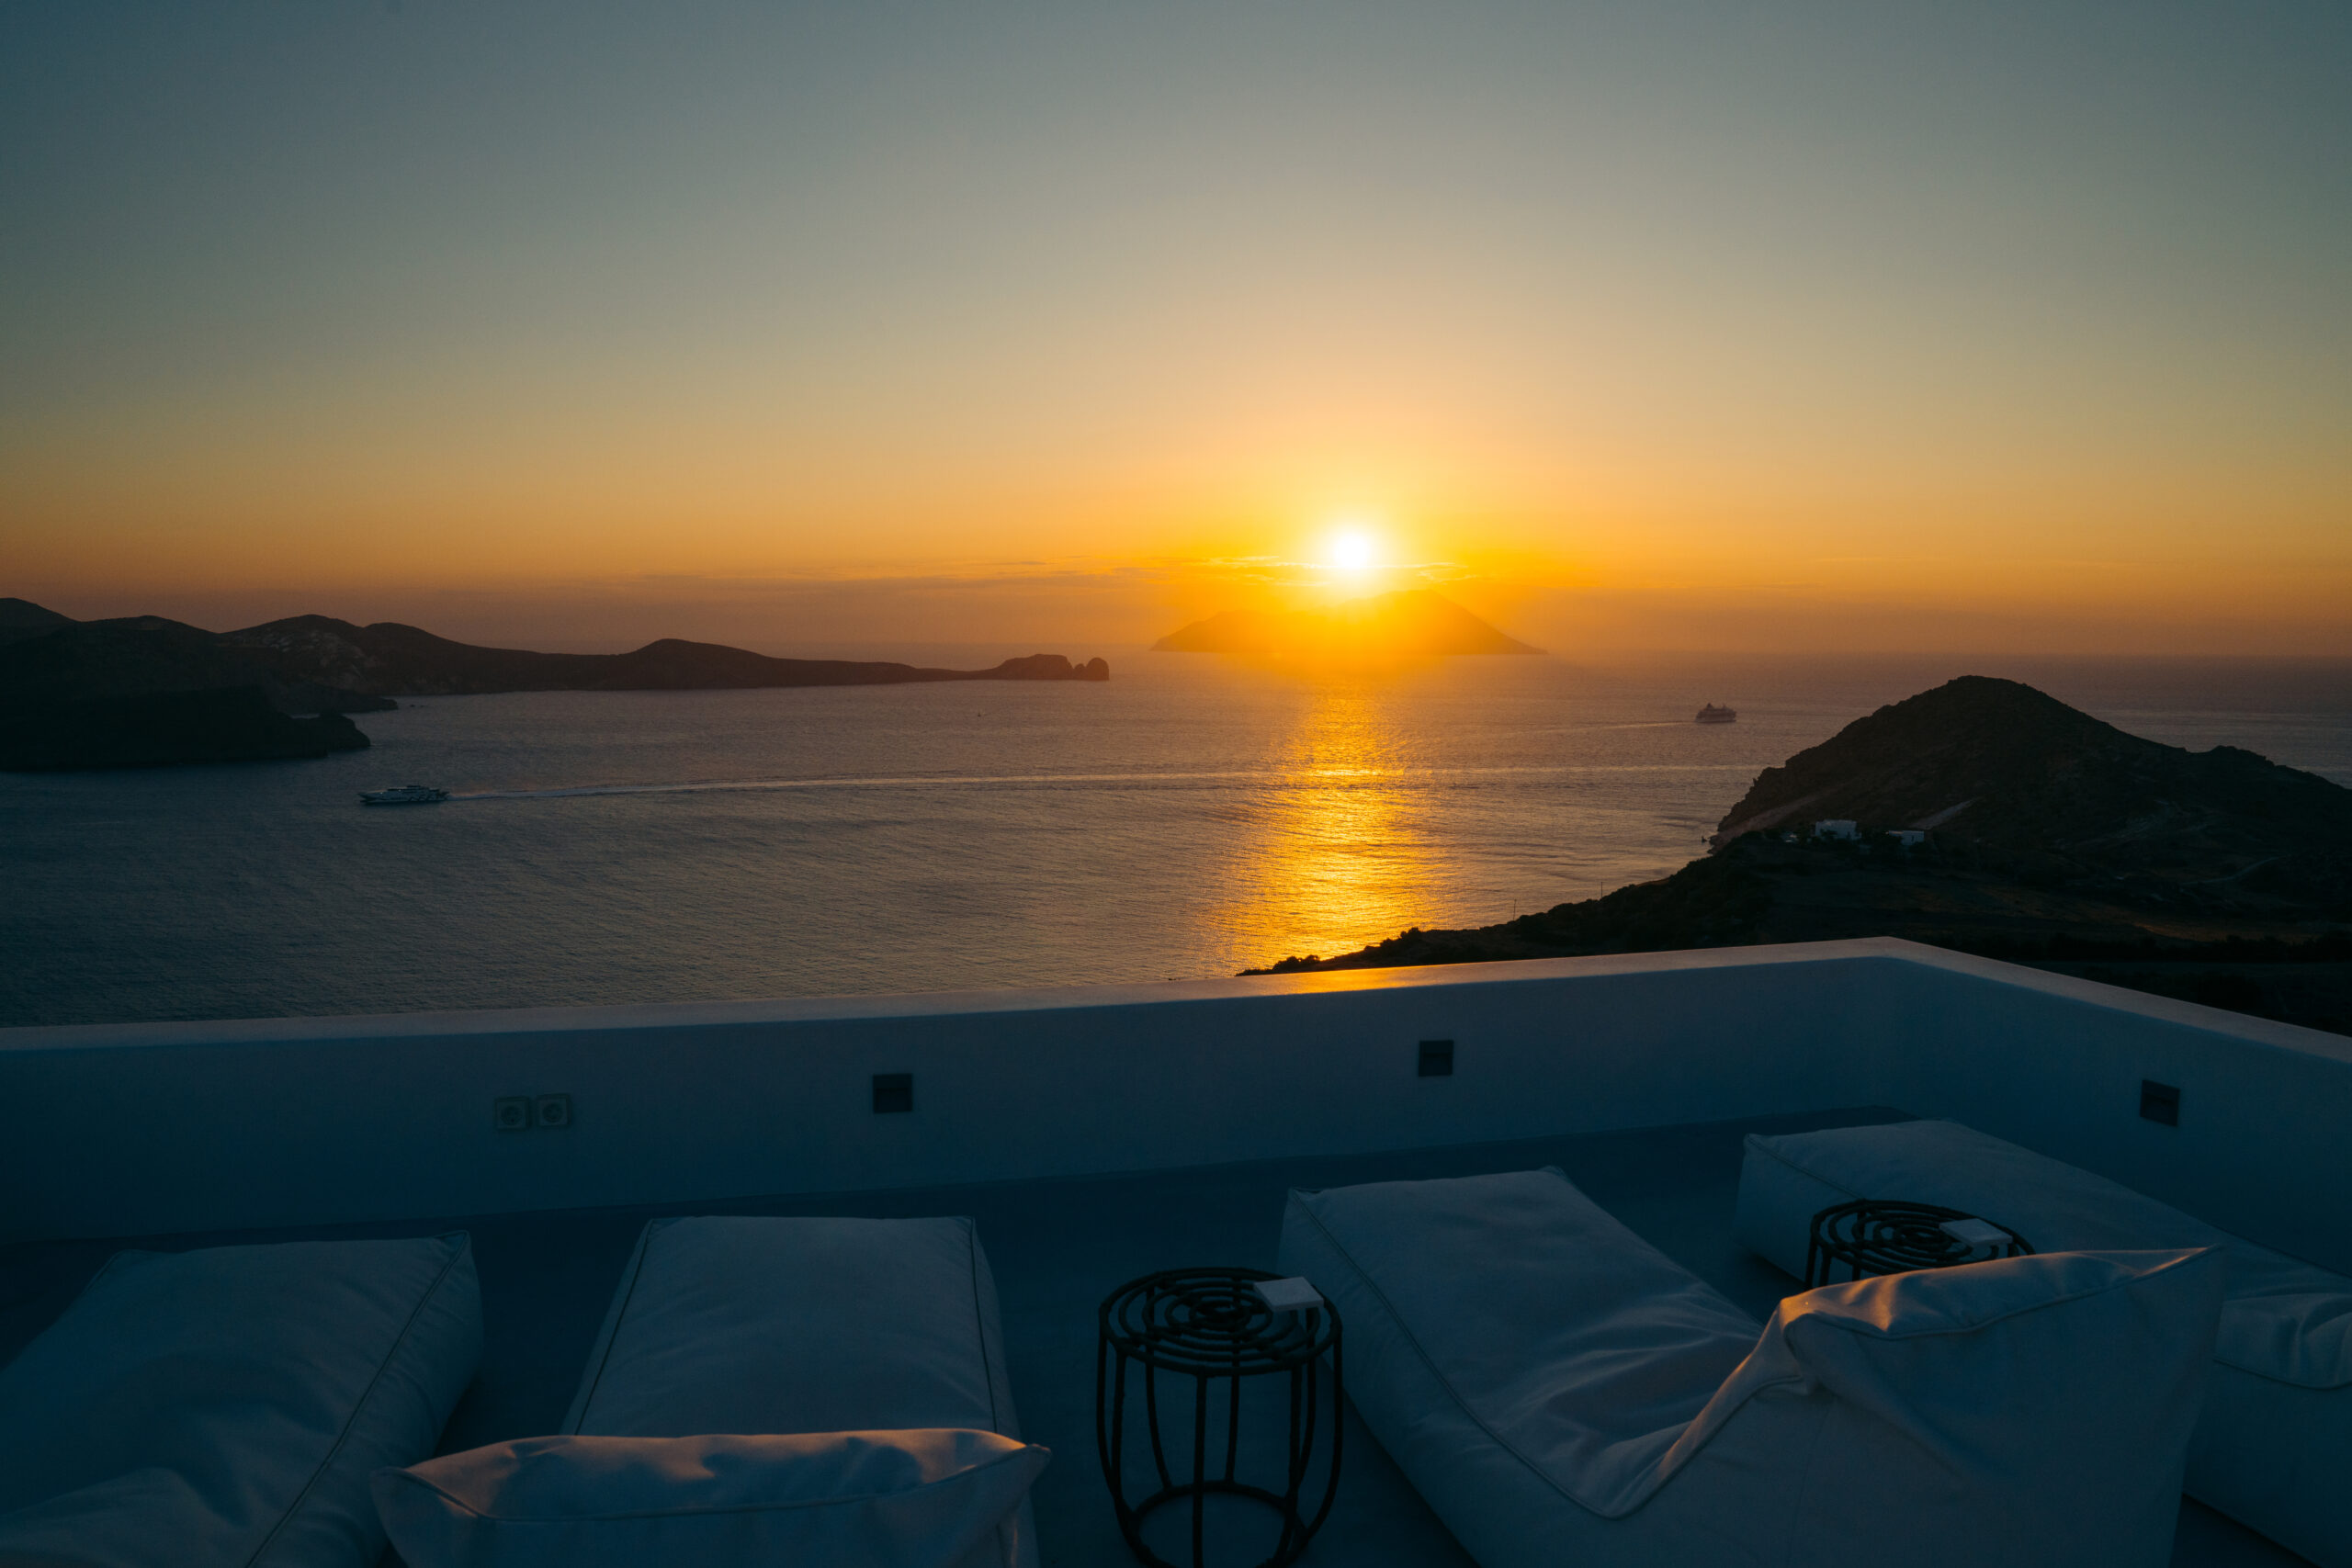
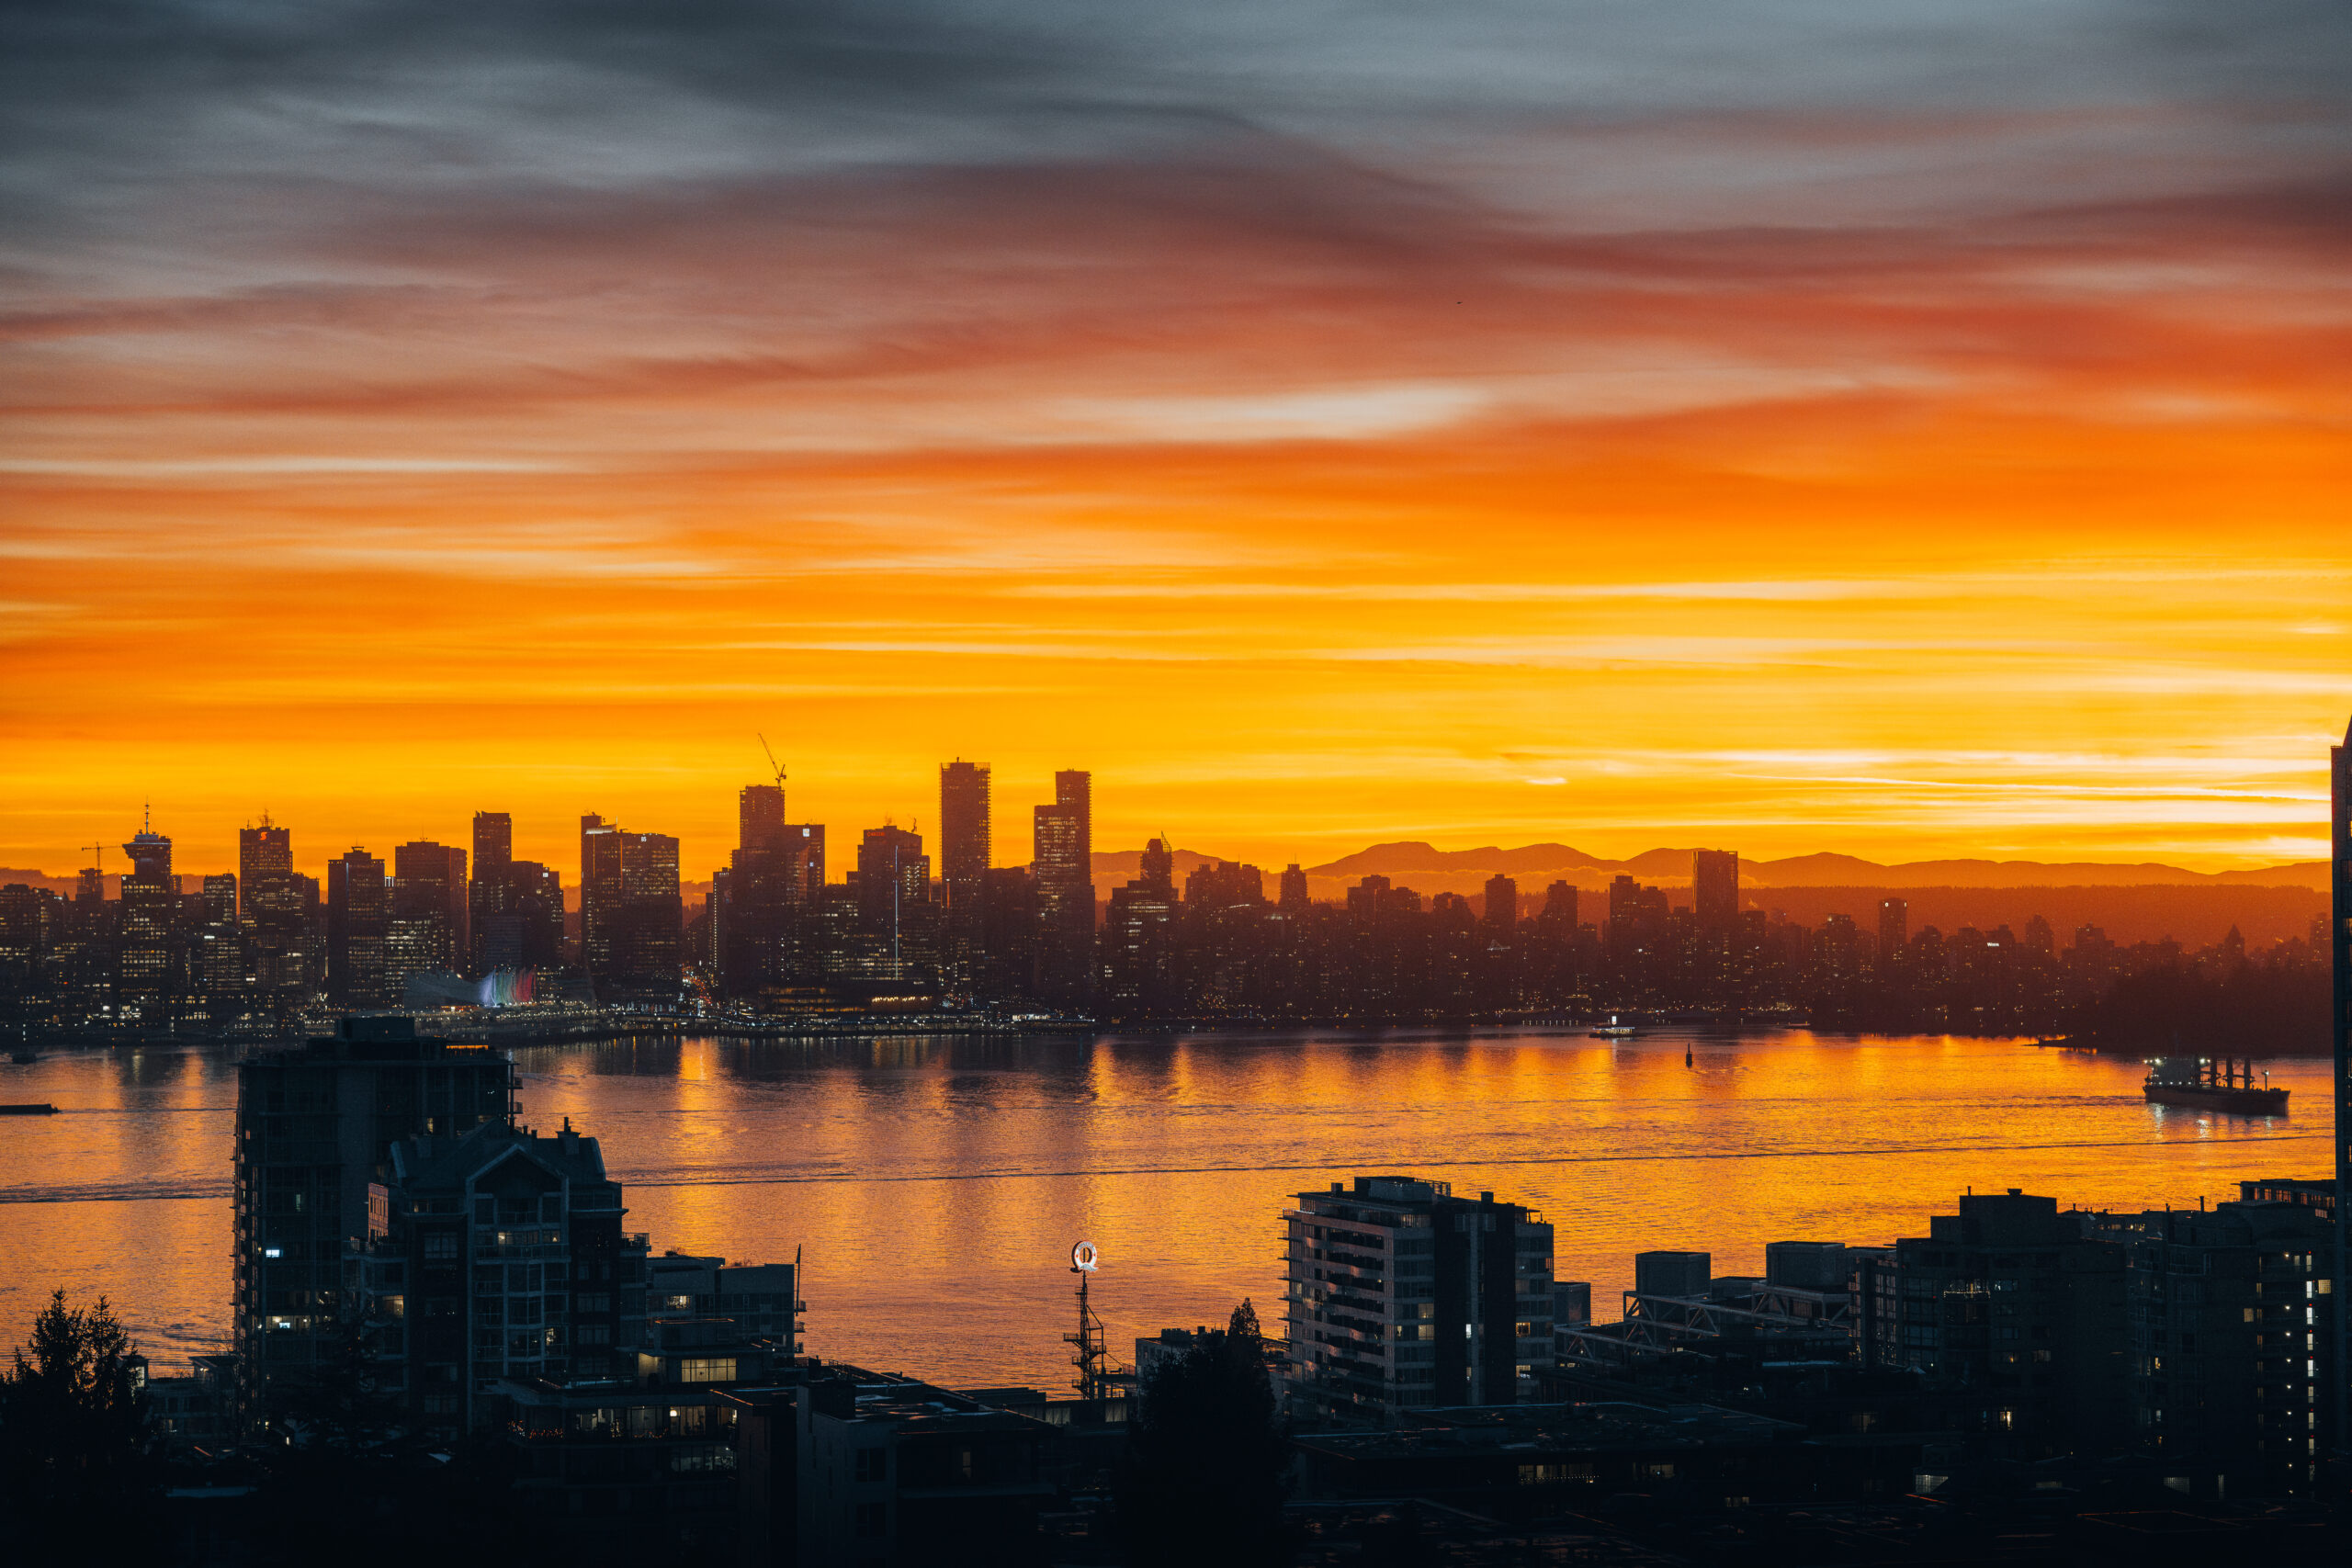
Place the horizon in the upper or lower third of the frame, not the centre. Add foreground interest — trees, rocks, water — for depth. Use leading lines like a shoreline or road to guide the eye toward the sun. Silhouettes create powerful dramatic contrast.
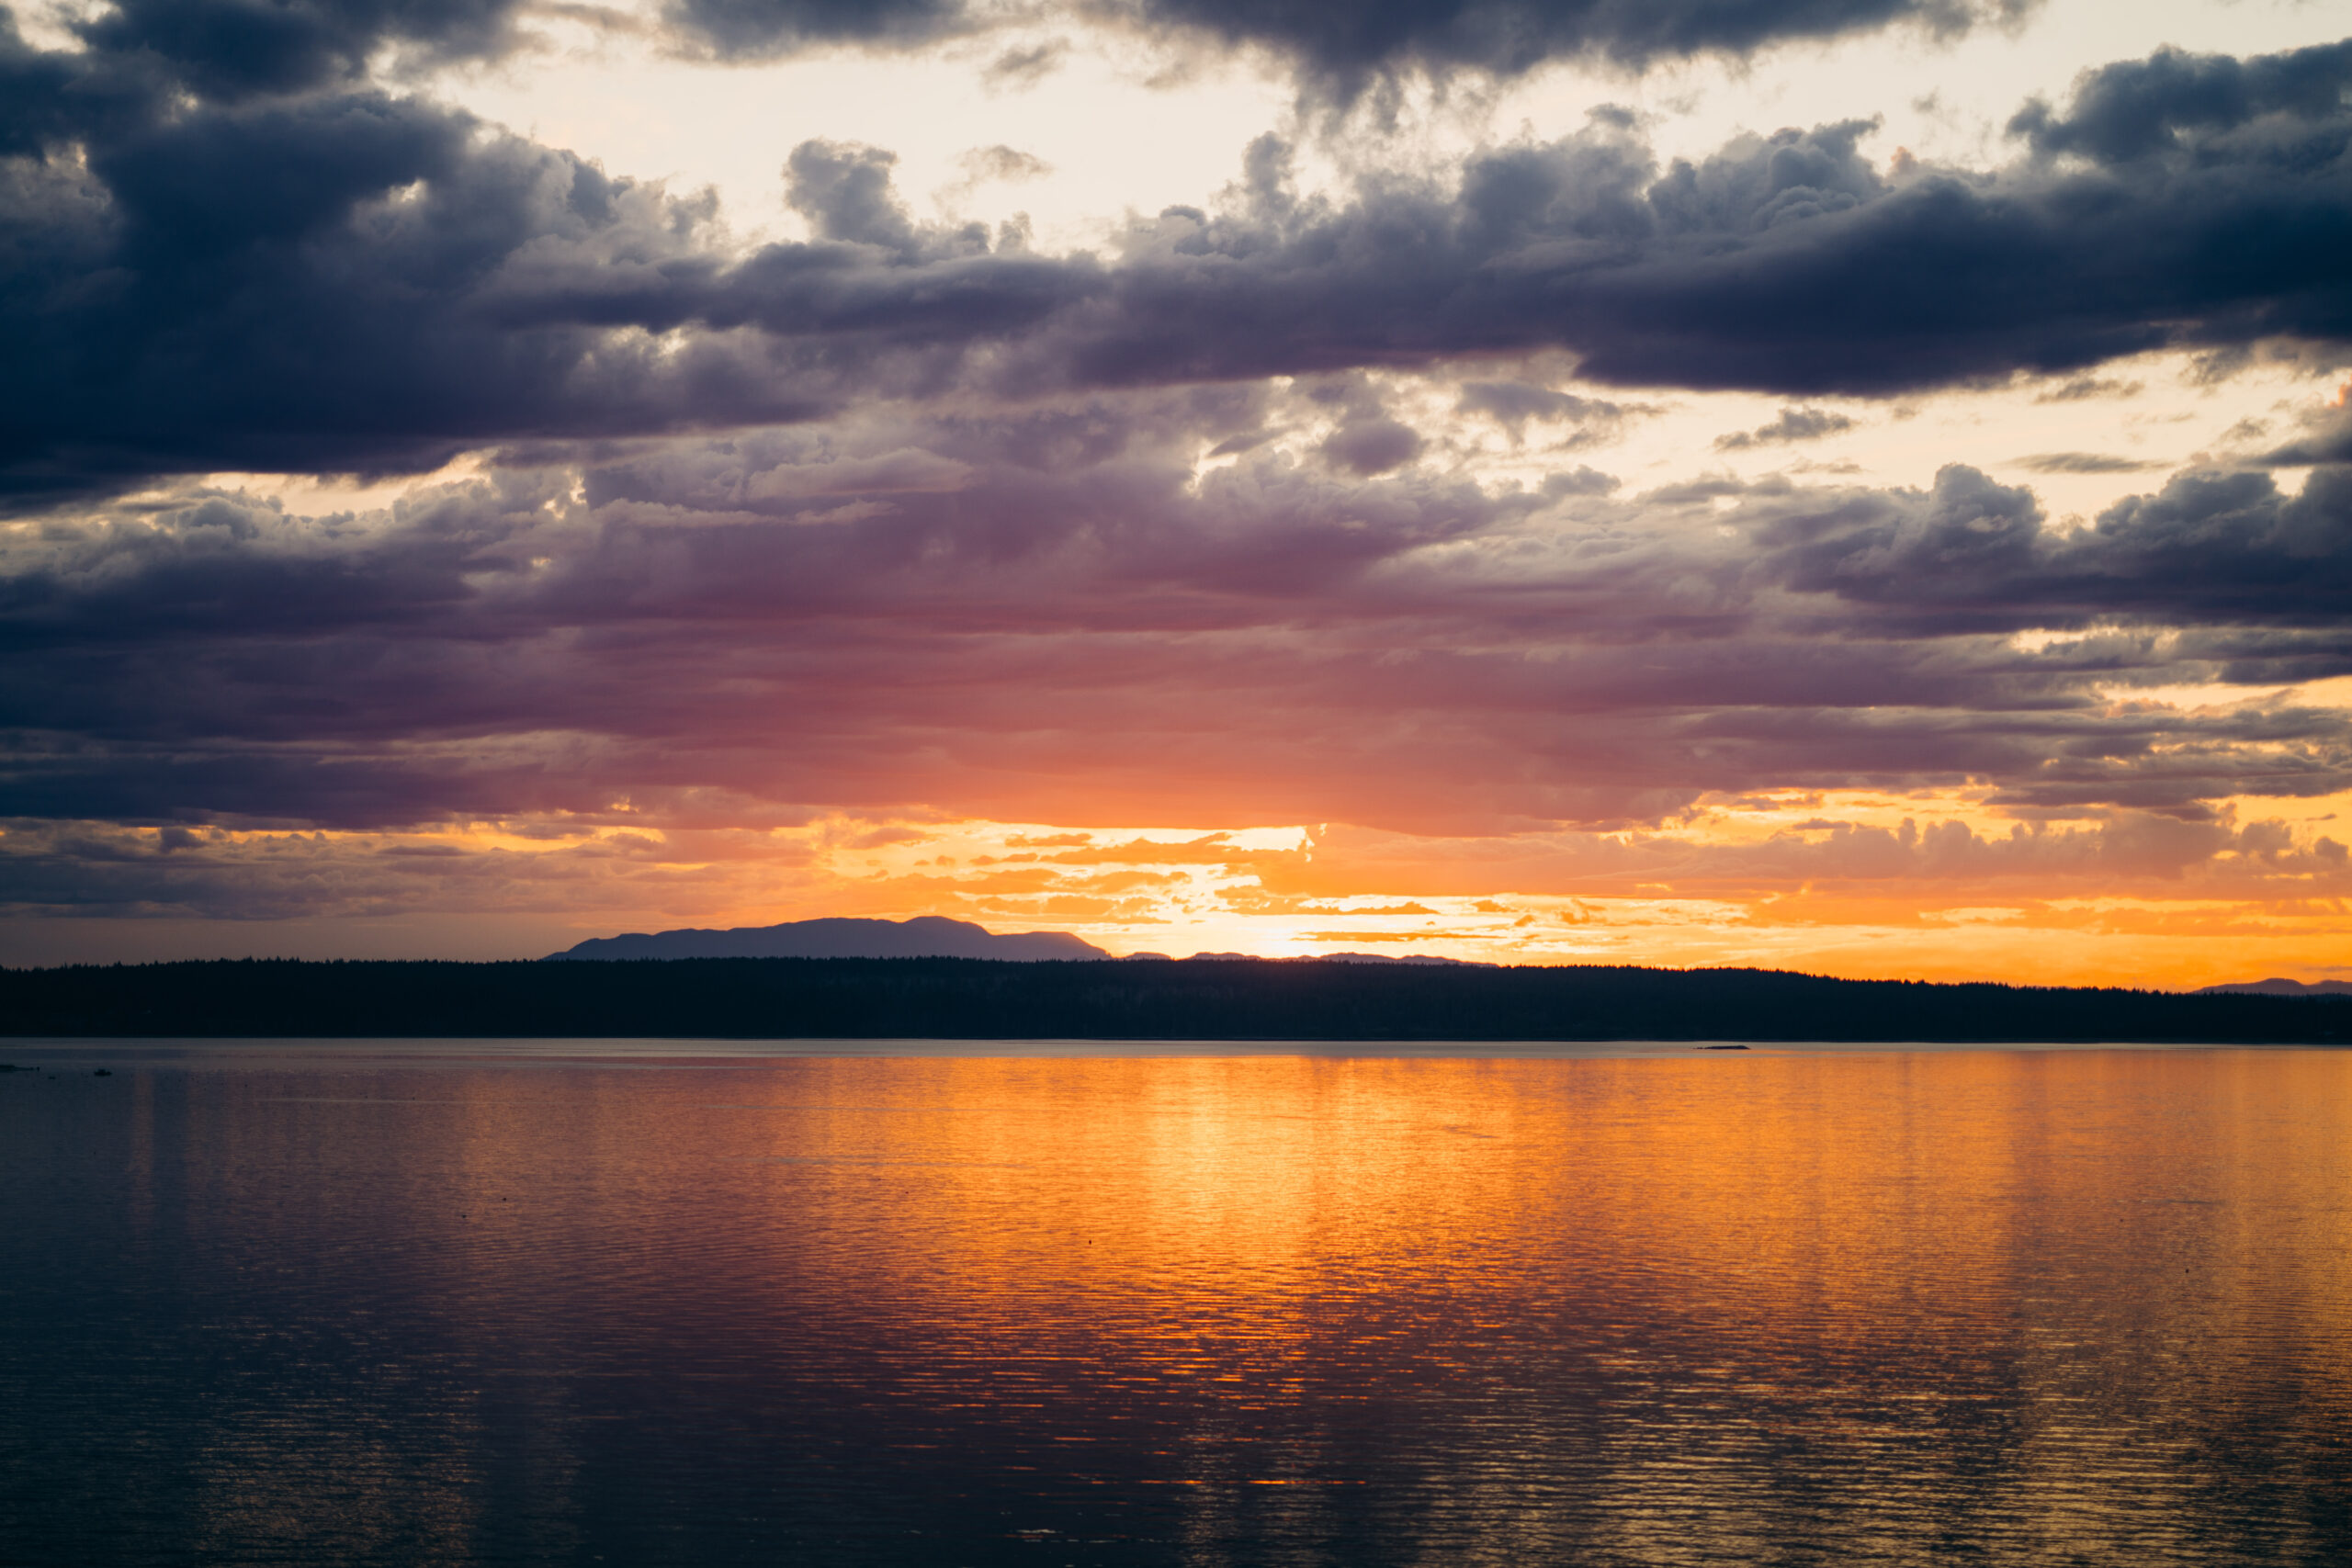
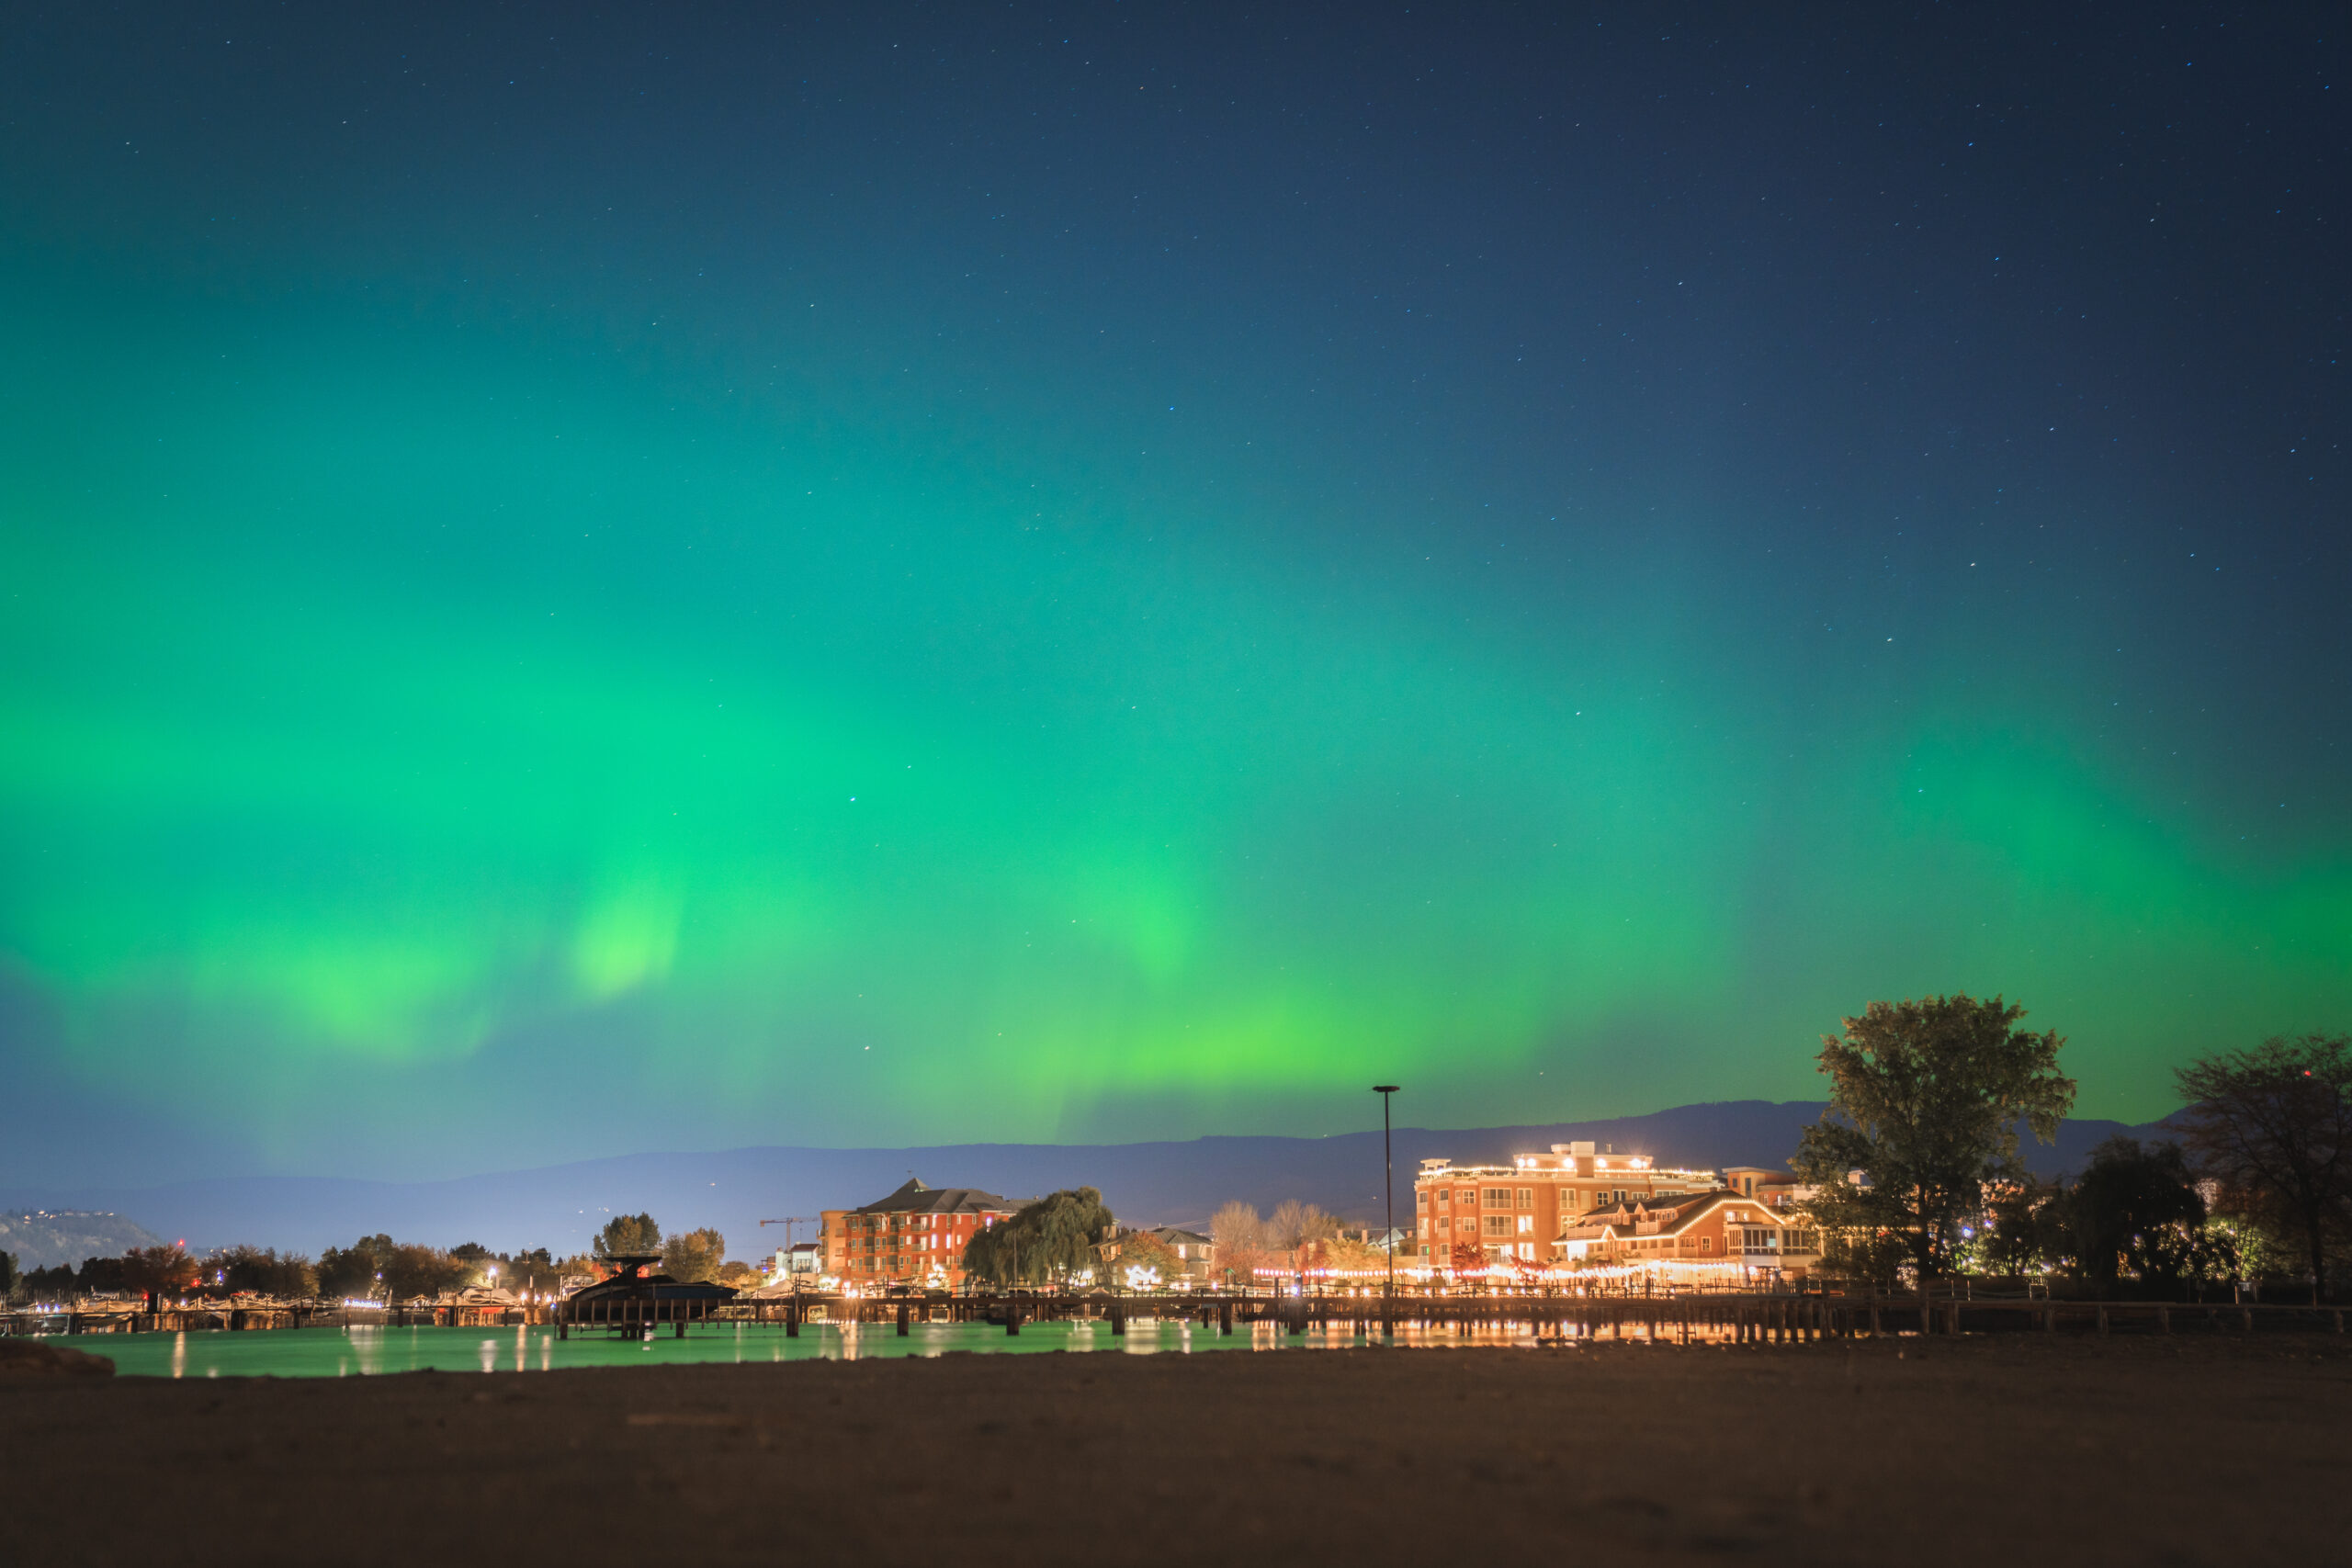
The moments after the sun disappears are often the most colourful — stay for the blue hour.
Capture Both Hours
Don't pack up after golden hour. The blue hour that follows offers cool, tranquil light that produces beautiful, moody images. Experiment with long exposures during blue hour to capture movement in the sky and soft, serene light.
Bracket Your Shots
Take multiple exposures — underexposed, correctly exposed, and overexposed. Merge them in post-processing to create an HDR image that reveals detail in both highlights and shadows. Use your camera's bracketing mode or adjust manually.
Use a Remote Shutter or Timer
Even slight movement blurs long exposures. Use a remote shutter release or the camera's timer. If you're on a DSLR, enable mirror lock-up mode to further minimise vibrations.
Post-Processing
Use Lightroom or Photoshop to adjust exposure, contrast, and colour. Enhance vibrancy without oversaturating. Adjust white balance to bring out warm or cool tones. Apply graduated filters to balance the bright sky against the darker foreground.
Capturing a stunning sunrise or sunset requires patience, preparation, and creativity. Set your alarm early or plan your evening — the effort always pays off.
Wrapping Up
Golden hour is the most forgiving, most beautiful light you'll ever shoot in. Once you learn to work with it, everything else in your photography improves too. It's the foundation of great landscape, portrait, and travel work.
See golden hour in action across my Landscapes and Astro & Low Light portfolios. Or read more about the fundamentals in my Exposure Triangle and Composition guides.