Light trails can add a dynamic and artistic element to your photography, transforming ordinary scenes into something magical. Capturing the streaks of light from passing cars, trains, or other moving light sources requires some planning and the right camera settings. Here's a step-by-step guide.
Camera Settings Cheat Sheet
- Mode: Manual (M) for full control
- ISO: 100–200 to minimise noise
- Aperture: f/8 to f/11 for deep depth of field
- Shutter Speed: 10–30 seconds (longer = longer trails)
- Focus: Manual — pre-focus on a streetlight or building
- Gear: Tripod + remote shutter or self-timer
Choose the Right Location
Urban areas with busy streets, highways, or bridges are ideal. Look for vantage points like an overpass, hill, or rooftop with a clear view of traffic. Winding roads and intersections create the most interesting trail patterns. Scout during the day to find the best angle.
Wait for the Right Time
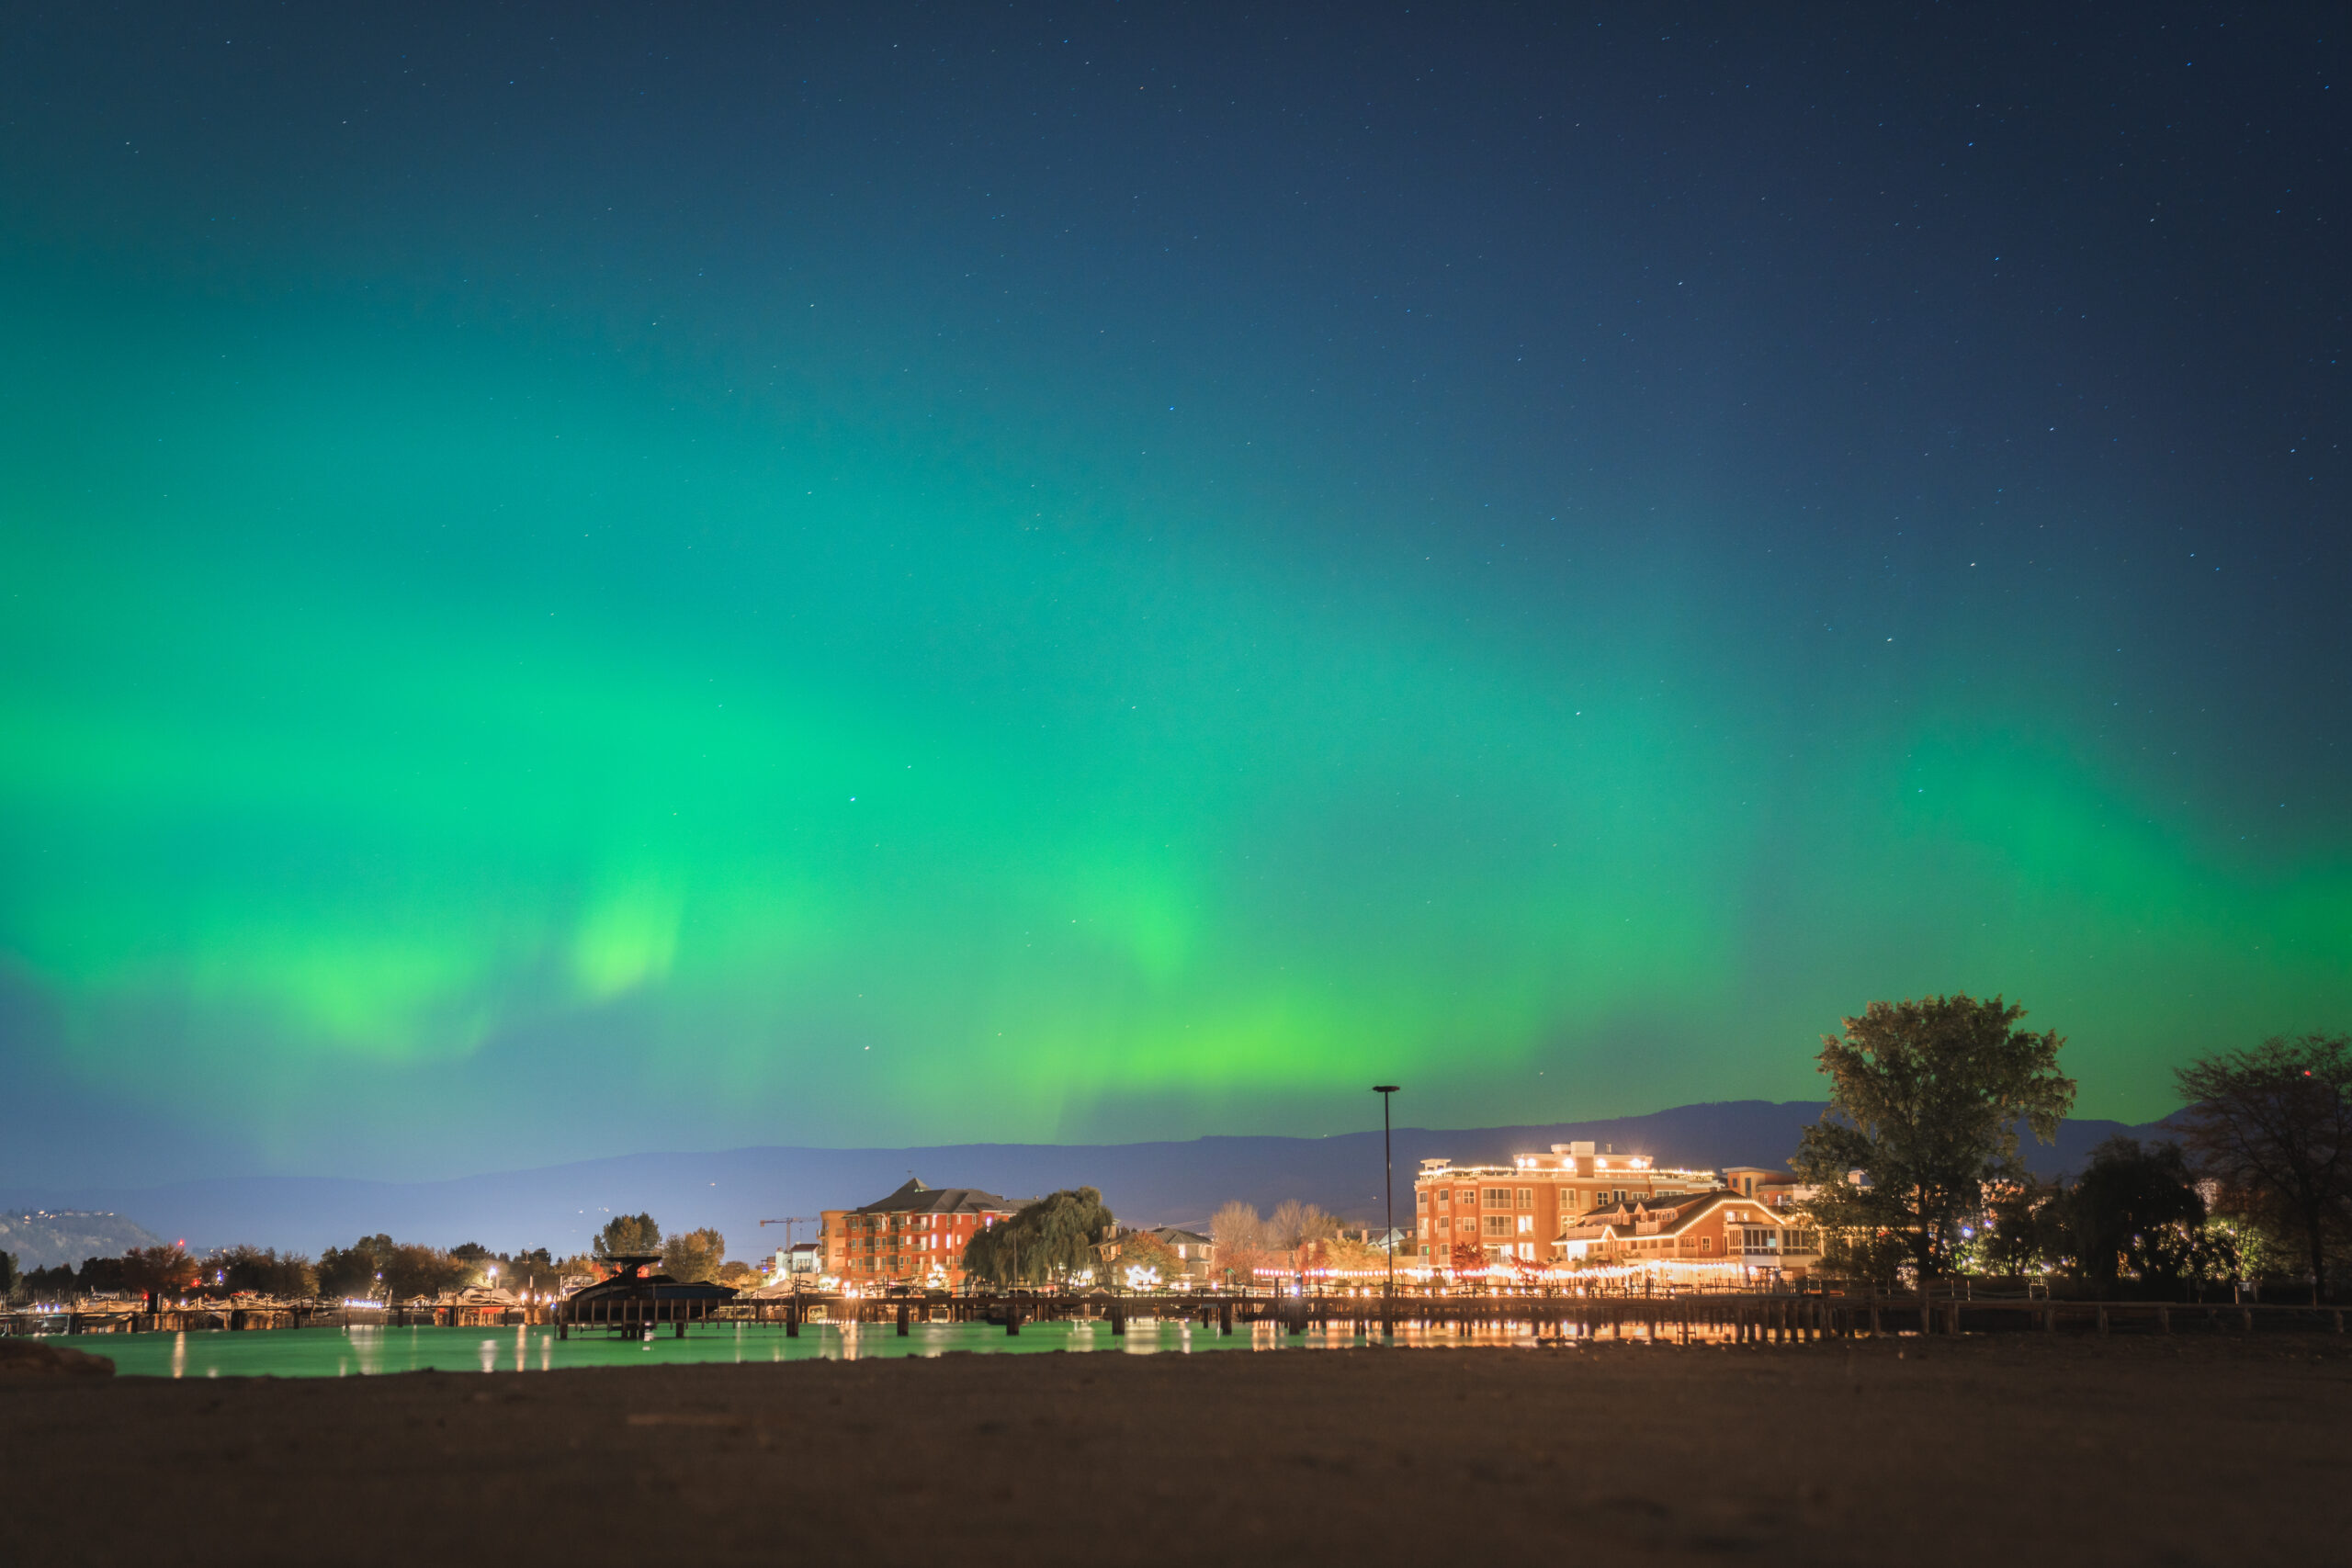
The best time is during blue hour — just after sunset or before sunrise — when there's still ambient light in the sky to balance the exposure. You can also shoot at full night for a more dramatic effect, but blue hour gives you richer skies.
Set Up Your Gear
A tripod is essential — even slight movement ruins long exposures. Use a remote shutter release or the camera's self-timer to avoid shake when pressing the button. A wide-angle lens captures expansive scenes; a telephoto can isolate specific trail patterns.
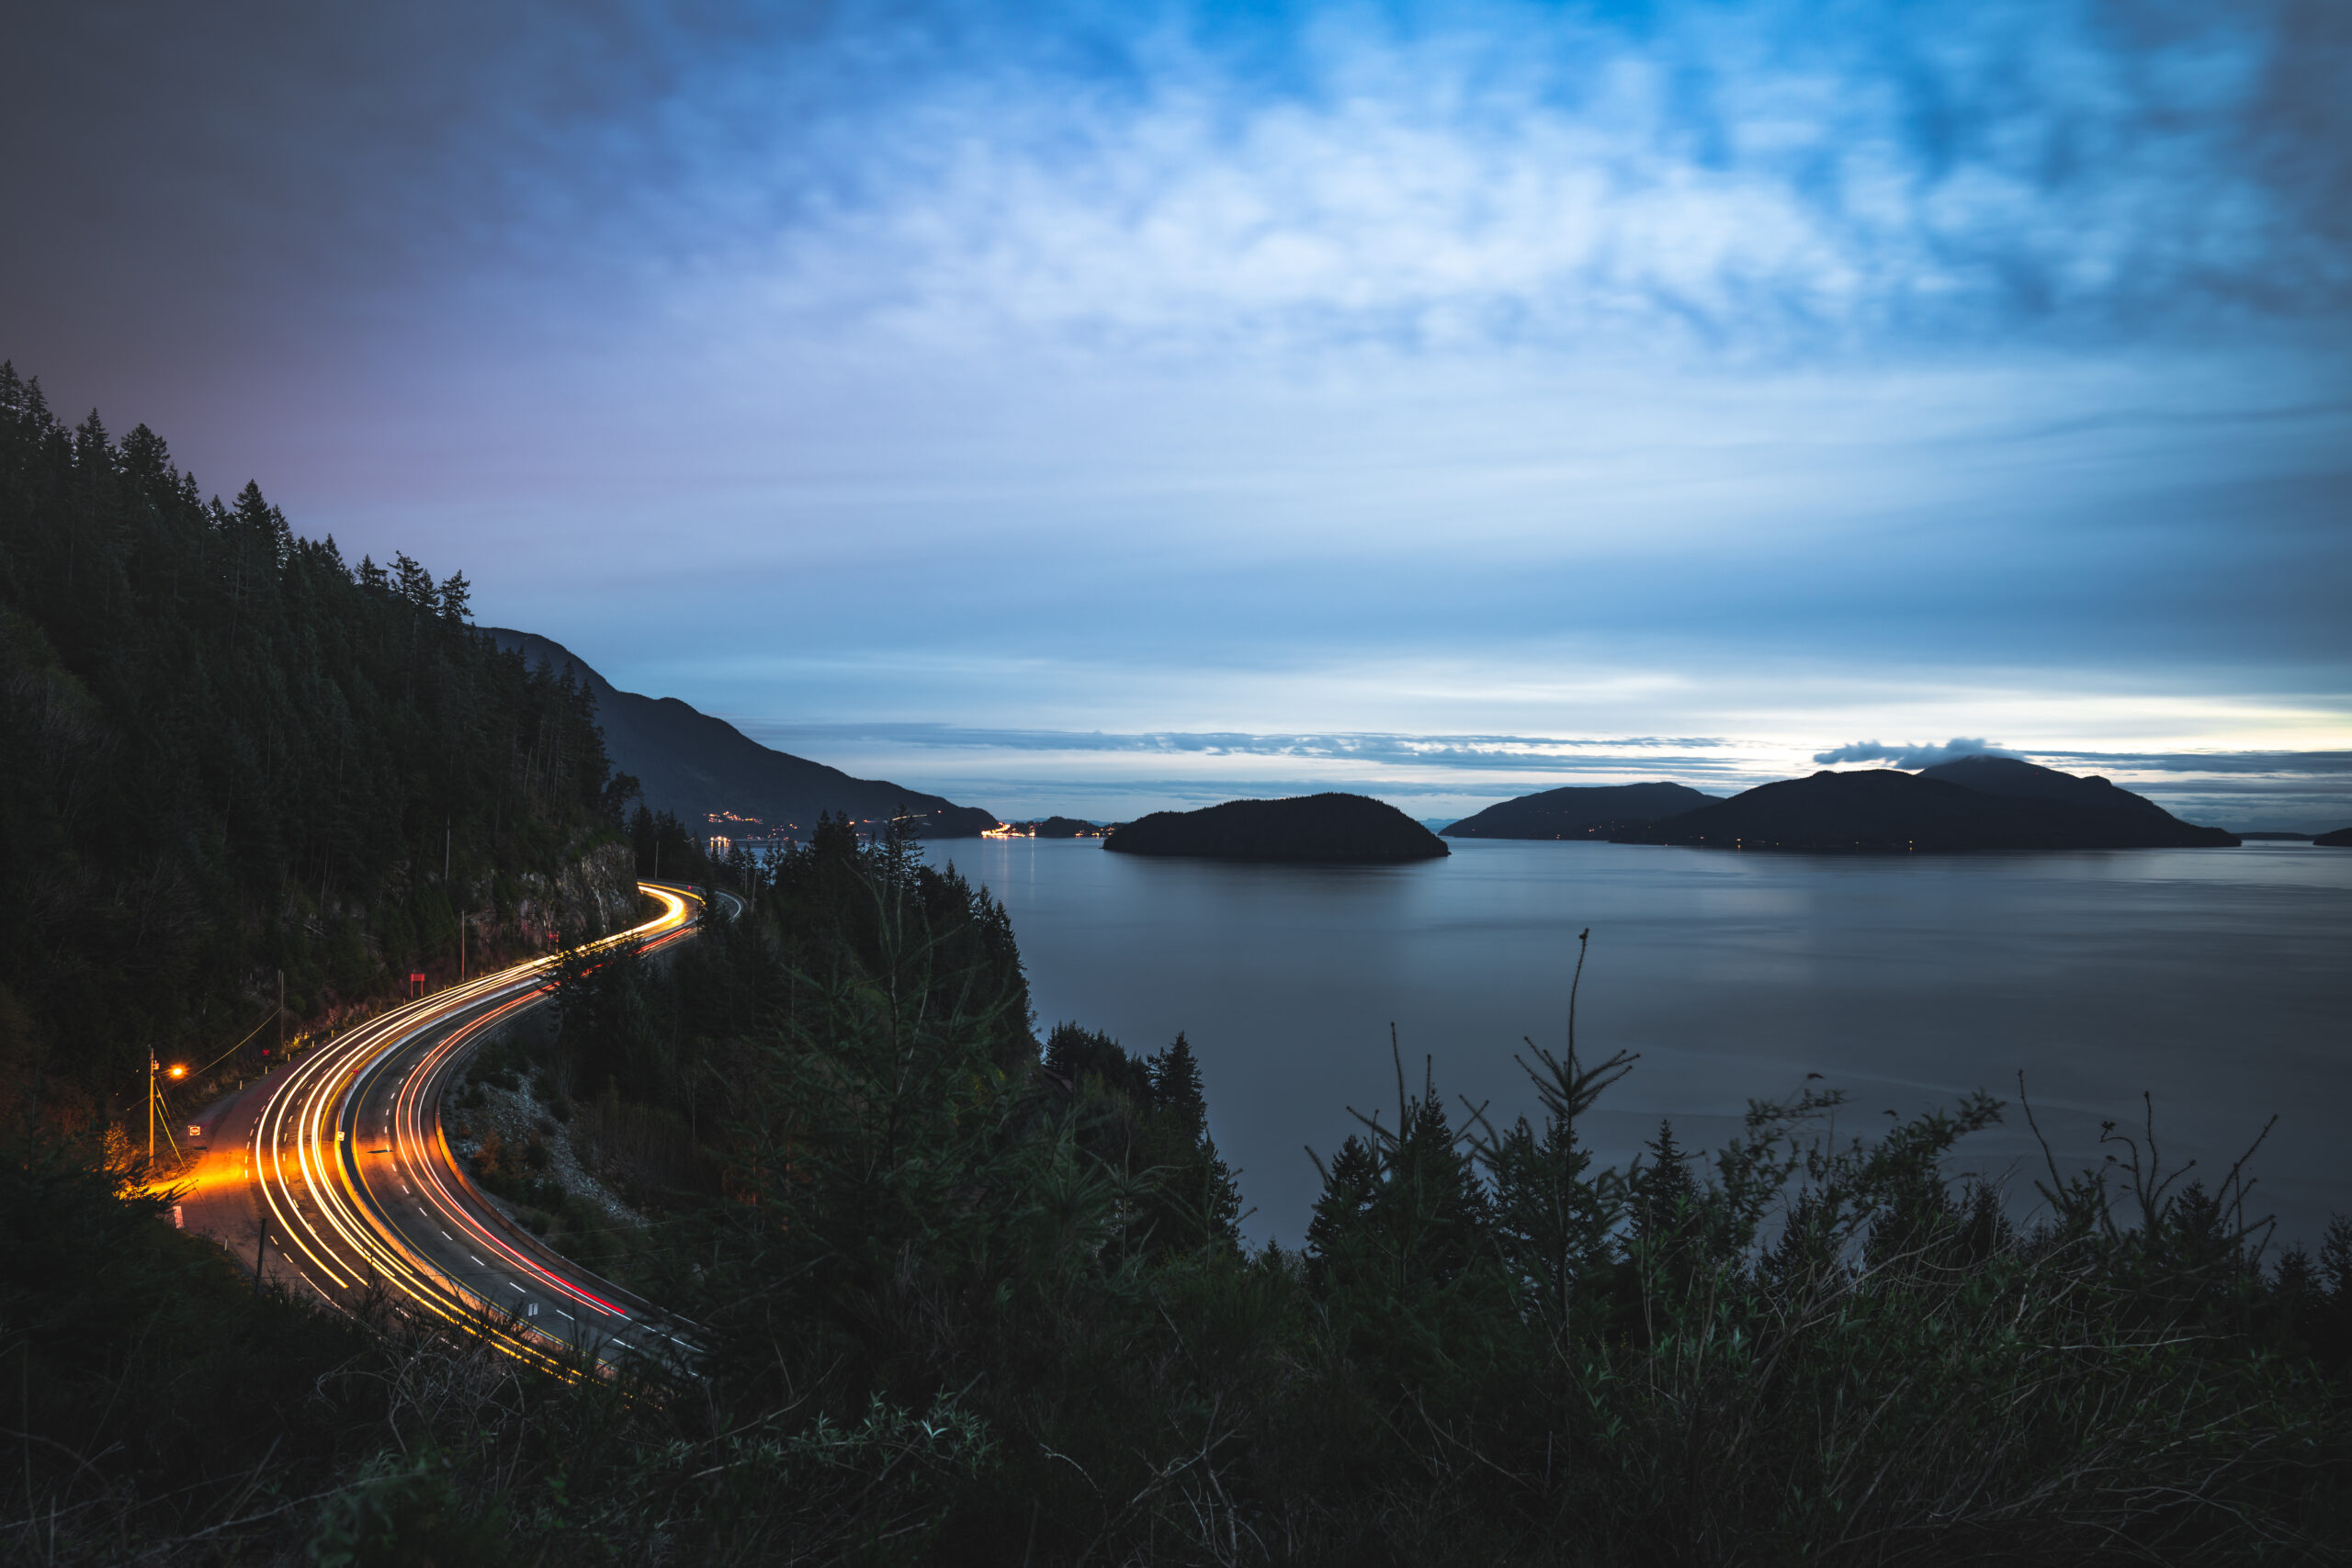
Long exposure light trails along the Sea to Sky — the longer the shutter stays open, the longer the trails stretch.
Dial In Your Settings
Start with ISO 100, aperture f/8–f/11, and a 10–30 second shutter speed. If trails are too faint, increase the exposure time or bump ISO slightly. If too bright, lower the ISO or shorten the exposure. It's a balancing act that gets intuitive fast.
Focus Manually
Autofocus struggles in low light. Switch to manual focus and lock onto a point where the trails will pass — a streetlight, building edge, or any well-lit element. Use live view and zoom in to fine-tune. If it's totally dark, pre-focus during daylight and lock it.
Compose Your Shot
Use the rule of thirds for the horizon and key elements. Incorporate foreground and background interest for depth. Roads and bridges act as leading lines that guide the viewer's eye through the frame. Experiment with different angles and perspectives.
Take Multiple Shots
Light trail photography involves trial and error. Take multiple shots with different exposure times and review them. Are the trails too short, too long, or just right? Consider Bulb mode for even longer exposures where you control the timing manually.
Post-Processing
Use Lightroom or Photoshop to adjust exposure, contrast, and colour balance. Boost whites and highlights to enhance the trails. Reduce noise from long exposures. If you took multiple shots, you can blend them in post to create more complex trail patterns.
Light trails are one of the most rewarding ways to experiment with long exposure photography. A tripod, some patience, and the right settings are all you need to create something striking.
Wrapping Up
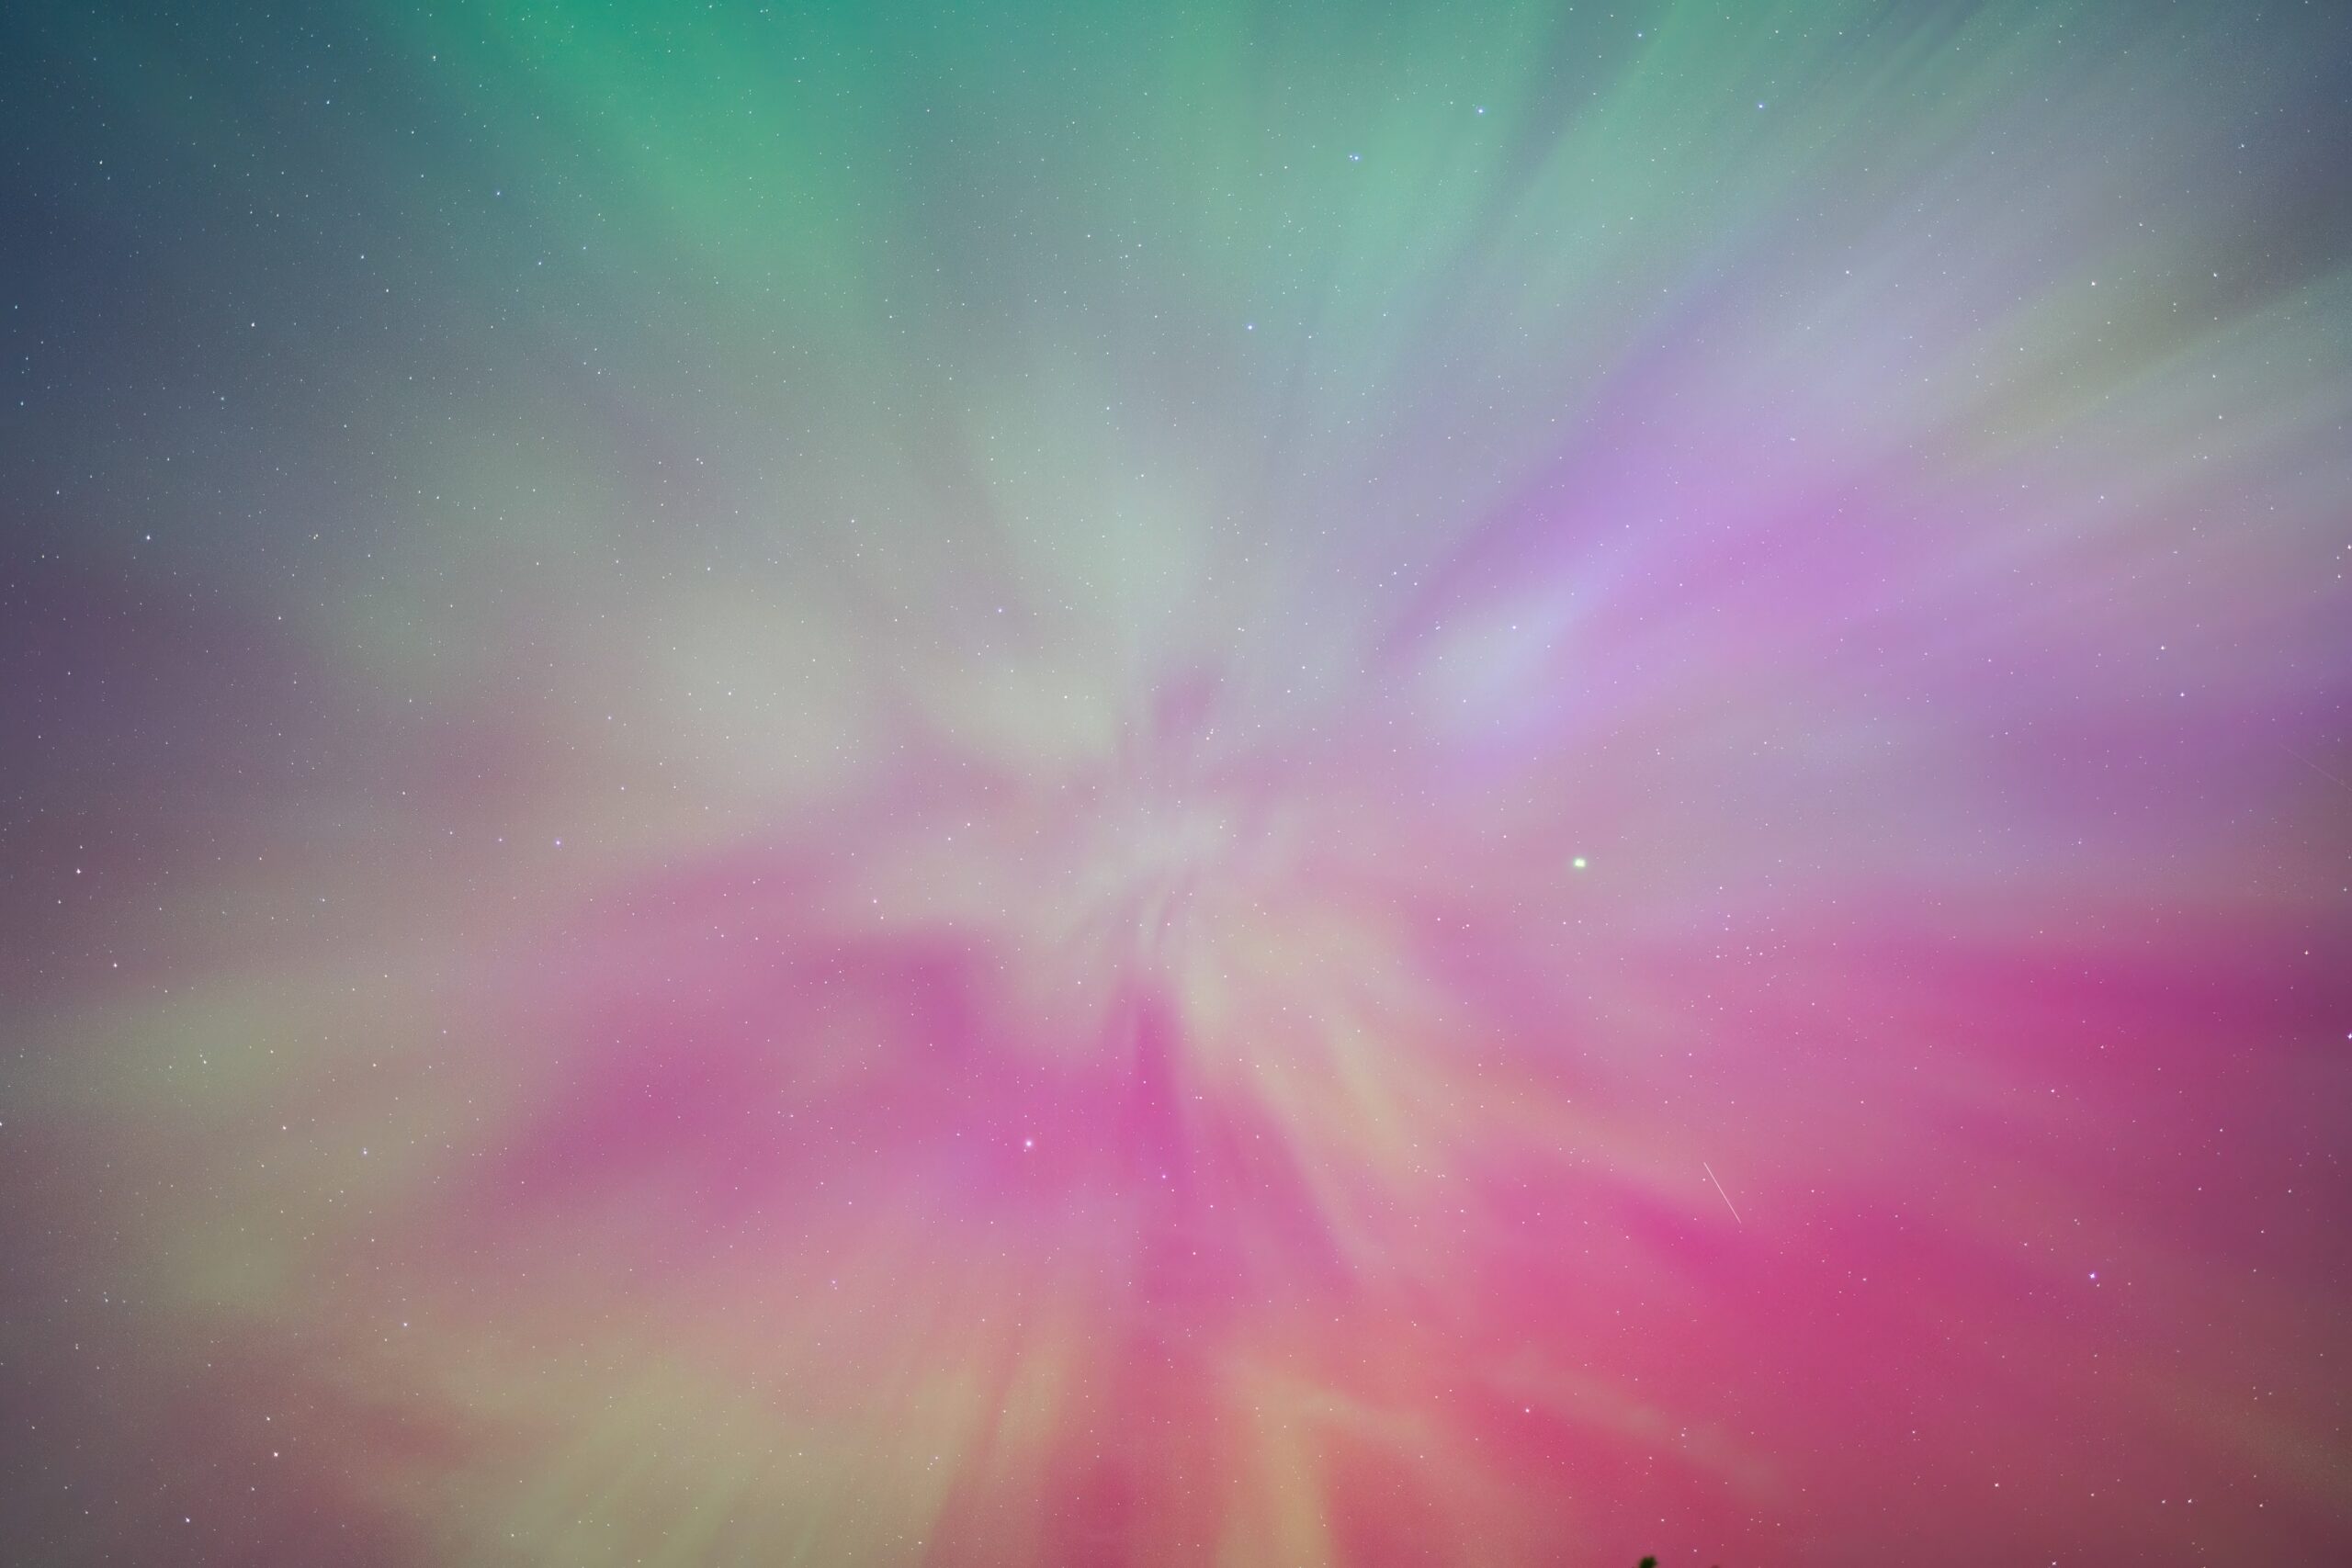
Once you've nailed light trails, you'll start seeing long exposure opportunities everywhere — waterfalls, star trails, moving crowds. It's a gateway technique that opens up a whole side of photography most people never try.
Want to see more night and low-light work? Check out my Astro & Low Light portfolio. Or dive into the Exposure Triangle if you want to understand the settings behind shots like these.